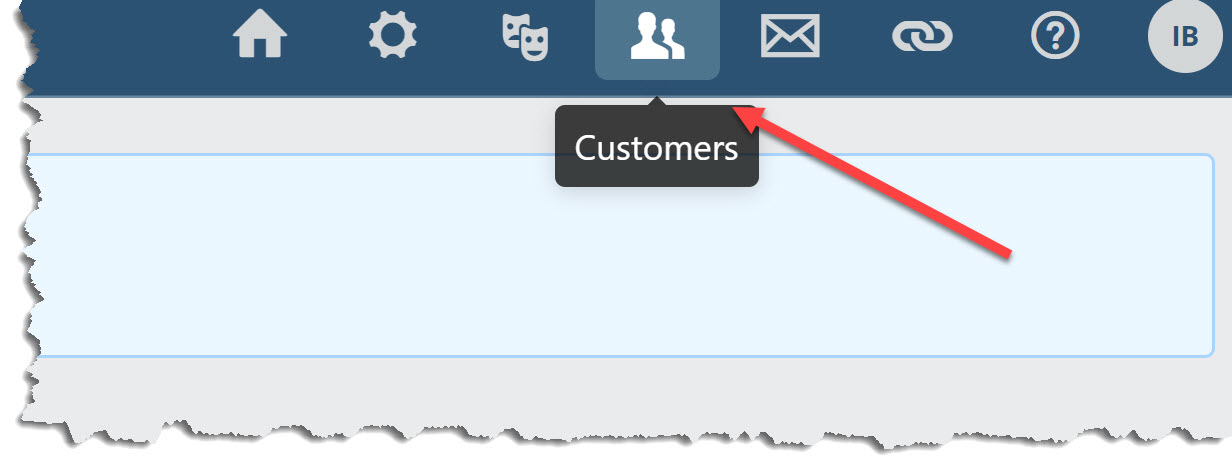
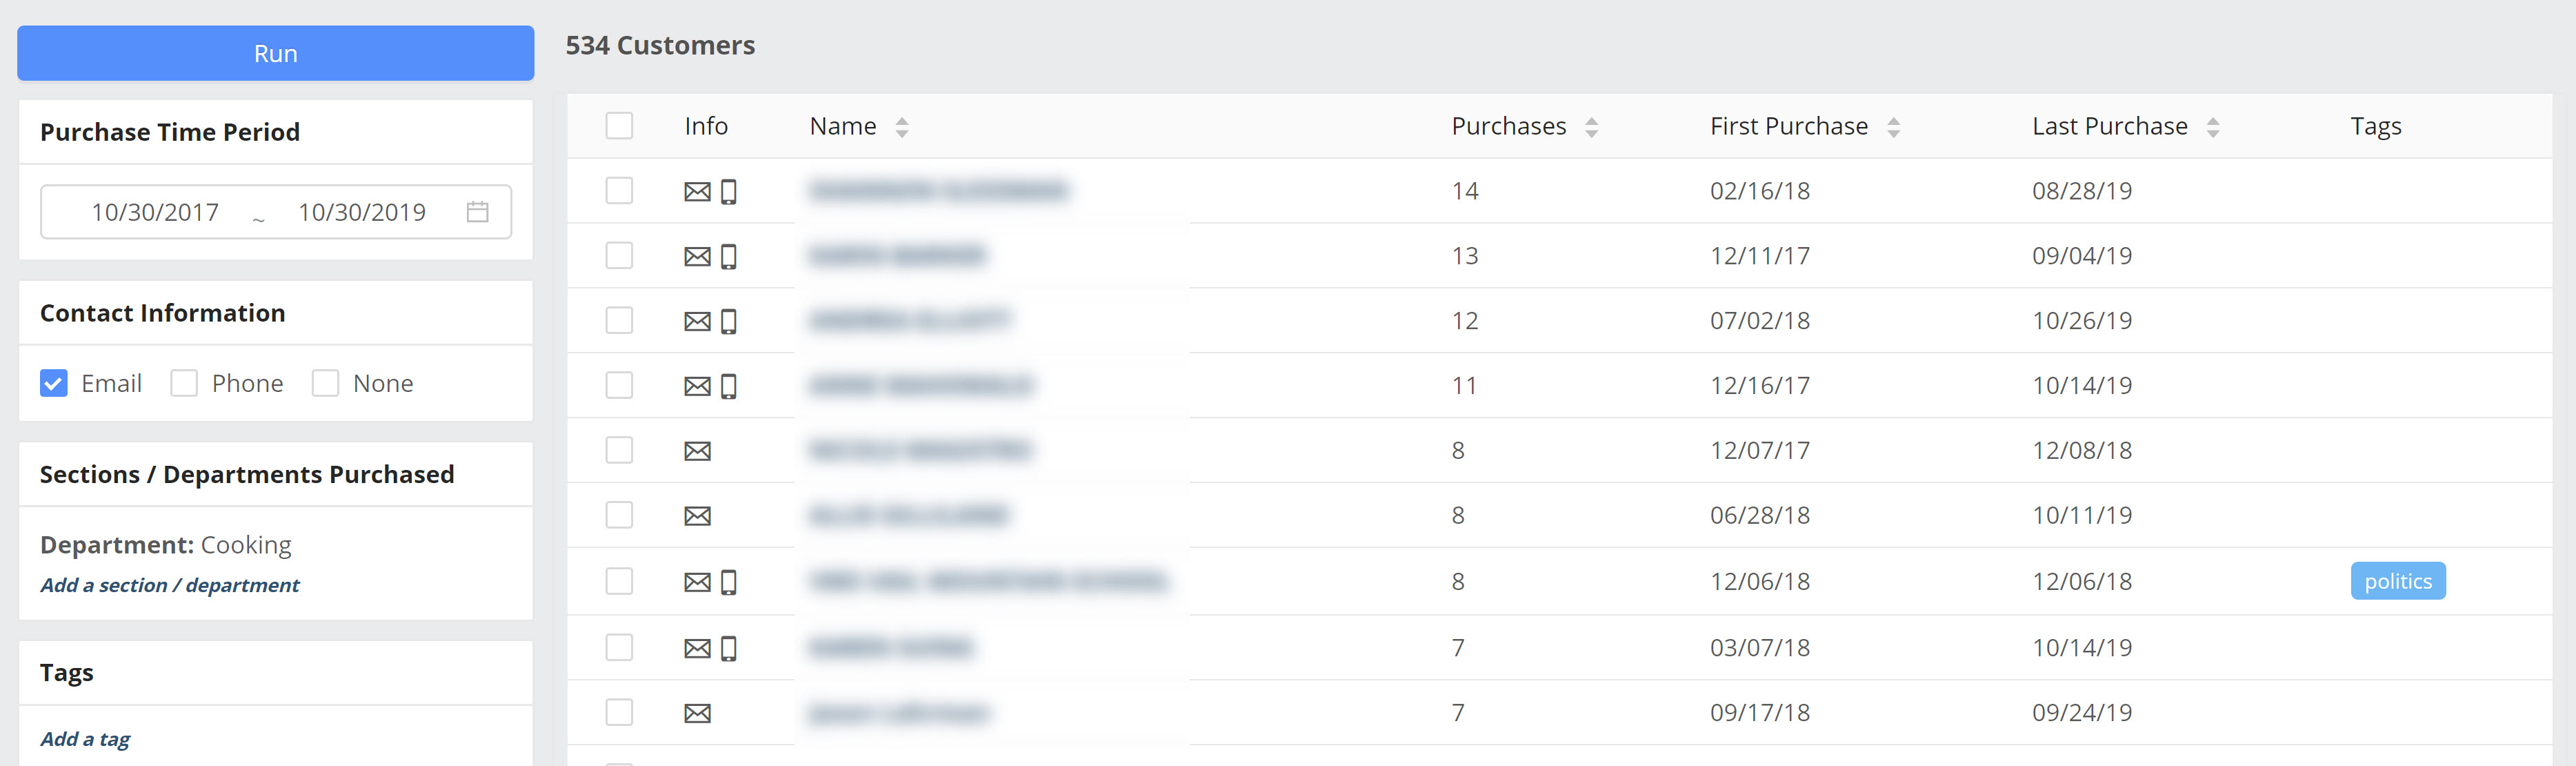
On the Customers page, you can filter your customer list by various parameters.
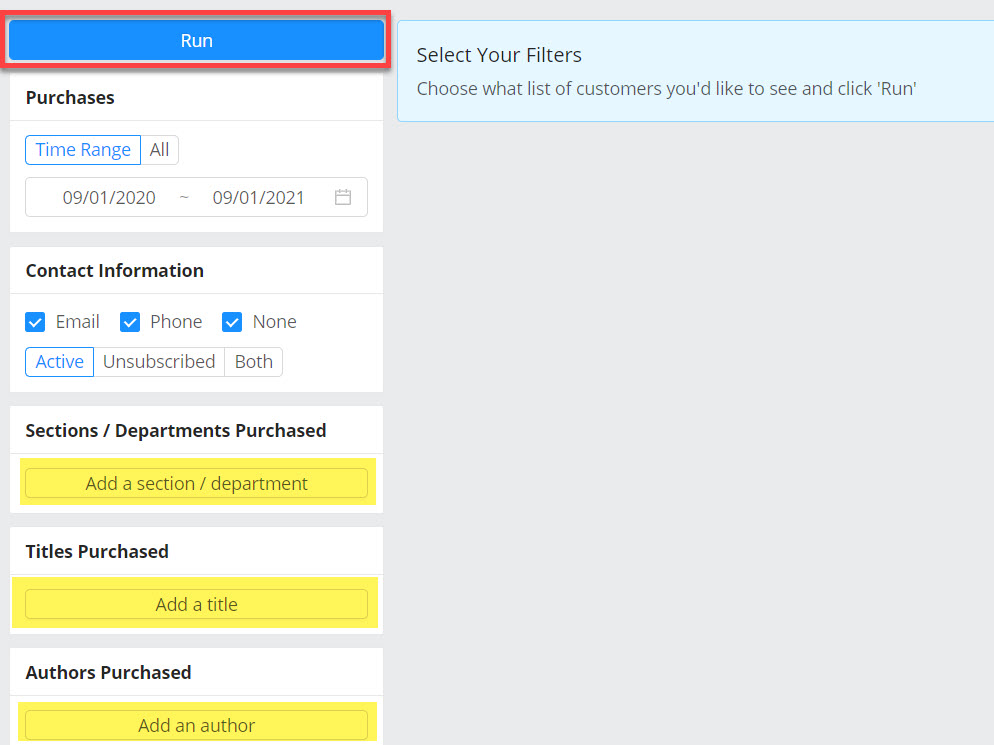
The Purchase Time Range allows you to pull a list of customers who purchased items within a specific time frame, whether within the last year, during last year’s holiday season, etc.
Contact Information allows you to parse your customer list according to the sort of contact data you have on file for them. Generally, Email should be selected.
Sections / Departments Purchased may be what you’ll use the most. This will pull all of your customers who have purchased from a specific section (or department) within the selected timeframe. For example, you can generate a list of all customers who have purchased gardening titles in the last few years so you can send them a targeted gardening campaign, for example.
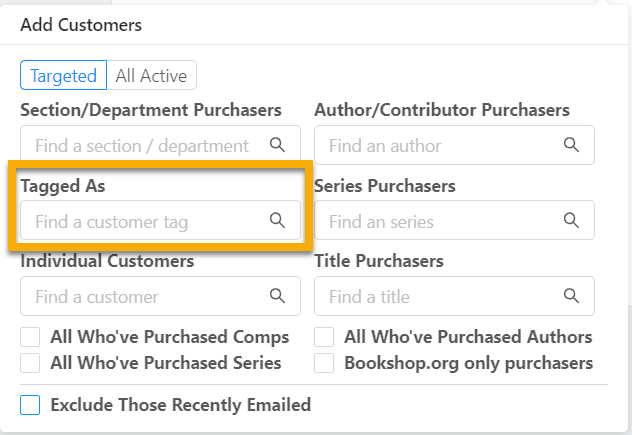
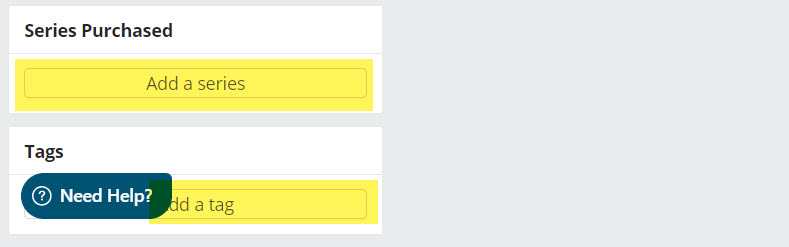
Tags allow you to view all the customers you’ve tagged with a specific keyword. Lit Fic, YA Titles, Cookbooks, Reading Group, etc. would be good sorts of folks to target.
After you choose parameters and select Run, you’ll see the list of customers that fit your parameters, their first and last purchase dates, and any existing Tags.
Mass-tagging customers:
One of the most useful things you can do here is apply a Tag to a whole mass of customers all at once. Once you’ve made a selection of customers, you can add (or remove) a Tag:

For this specific list of customers we’ve produced, a simple Cookbook tag would be very helpful and sensible. One customer can also have multiple Tags.

Mass-tagging customers via spreadsheet:
One very helpful trick to know about is the option of mass-tagging by uploading a spreadsheet of customer email addresses. For example, if you have a list of customers who attended a particular event and you want to tag them without combing through your customer list in 360, you can simply import those customers and add a tag to all of them at once. This will not add them to your customer list twice or overwrite any existing information for the customer, but will just add on the desired tag.
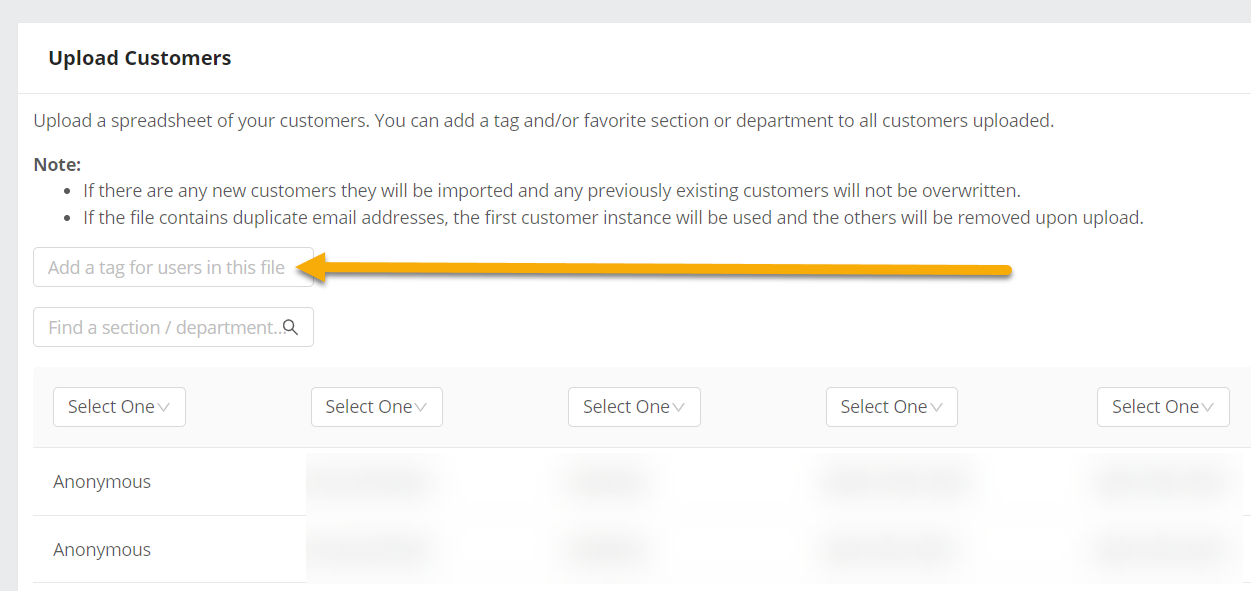
Learn all about manually uploading customers here.
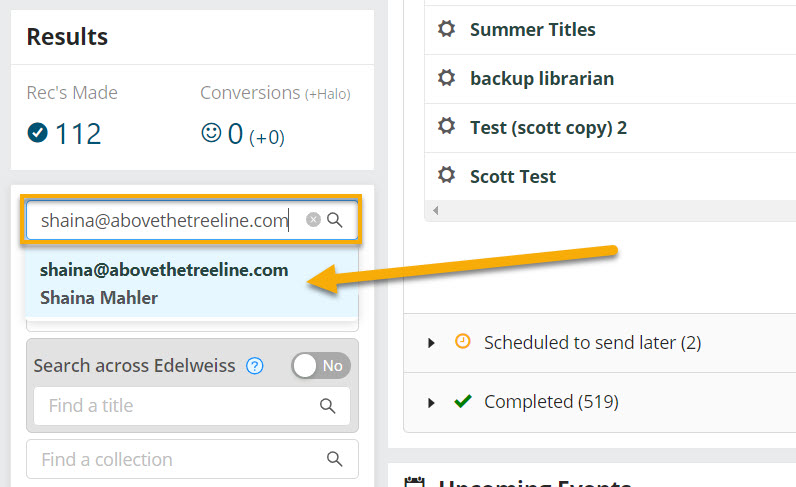
Tagging individual customers:
Of course, it’s also possible to tag individual customers. Either search for a customer using the customer search on your 360 homepage…
… or select a customer on the Customers page.

In the customer detail window, click +New Tag.
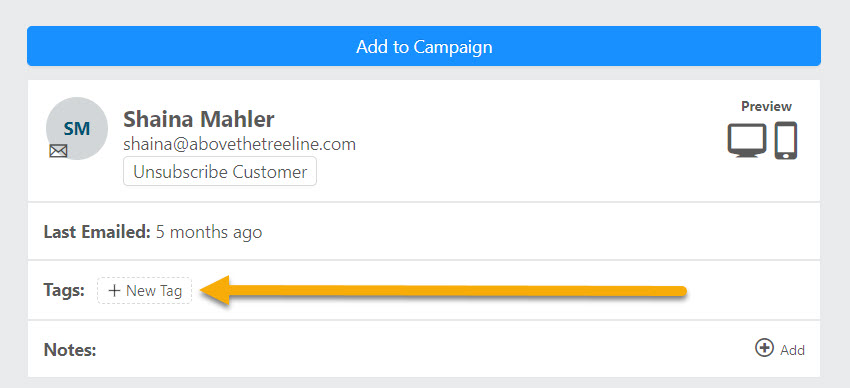
Once tagged, you can quickly add customers as recipients of a campaign based on their tag(s).