
Watch a quick demo here!
The campaign builder is designed to help you easily construct a comprehensive communication to your customers, tailored to customer interests or in conjunction with any of your existing store campaigns, such as summer reading, holiday fliers, book groups, etc.
With the campaign builder, you can:
- Add similar titles, events and/or collections to a single, store-branded email for your customers
- Add customer ‘filters’ to identify the specific customers to email the campaign to-- based off section/department purchases, tags you’ve applied to your customers, comp title purchases and/or individual customers
- Add a custom email ‘Subject’ and ‘Message’ for the campaign to tailor your message even further and share store news
- Preview and/or send the email to your customers and view the results (click-rates, conversions, etc.)
Creating a New Campaign:
The main way to create a new campaign is to click the Create New Campaign button on your Edelweiss360 homepage.

You'll be able to name the campaign whatever you'd like (this is only visible to you and is different from the email subject line).

Adding Titles:
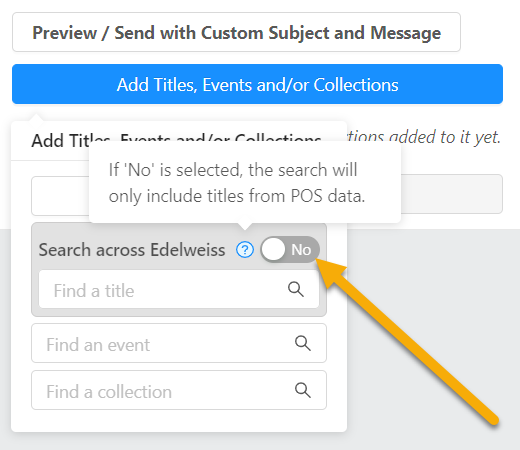
You can add any title(s), event(s), or collection(s) to a campaign by searching within the campaign builder.
Note that Edelweiss360 enables you to search either just your POS system, or all titles listed on Edelweiss. You'll find that it's helpful to toggle back and forth depending on what you're searching for. Just adjust the switch here as needed!
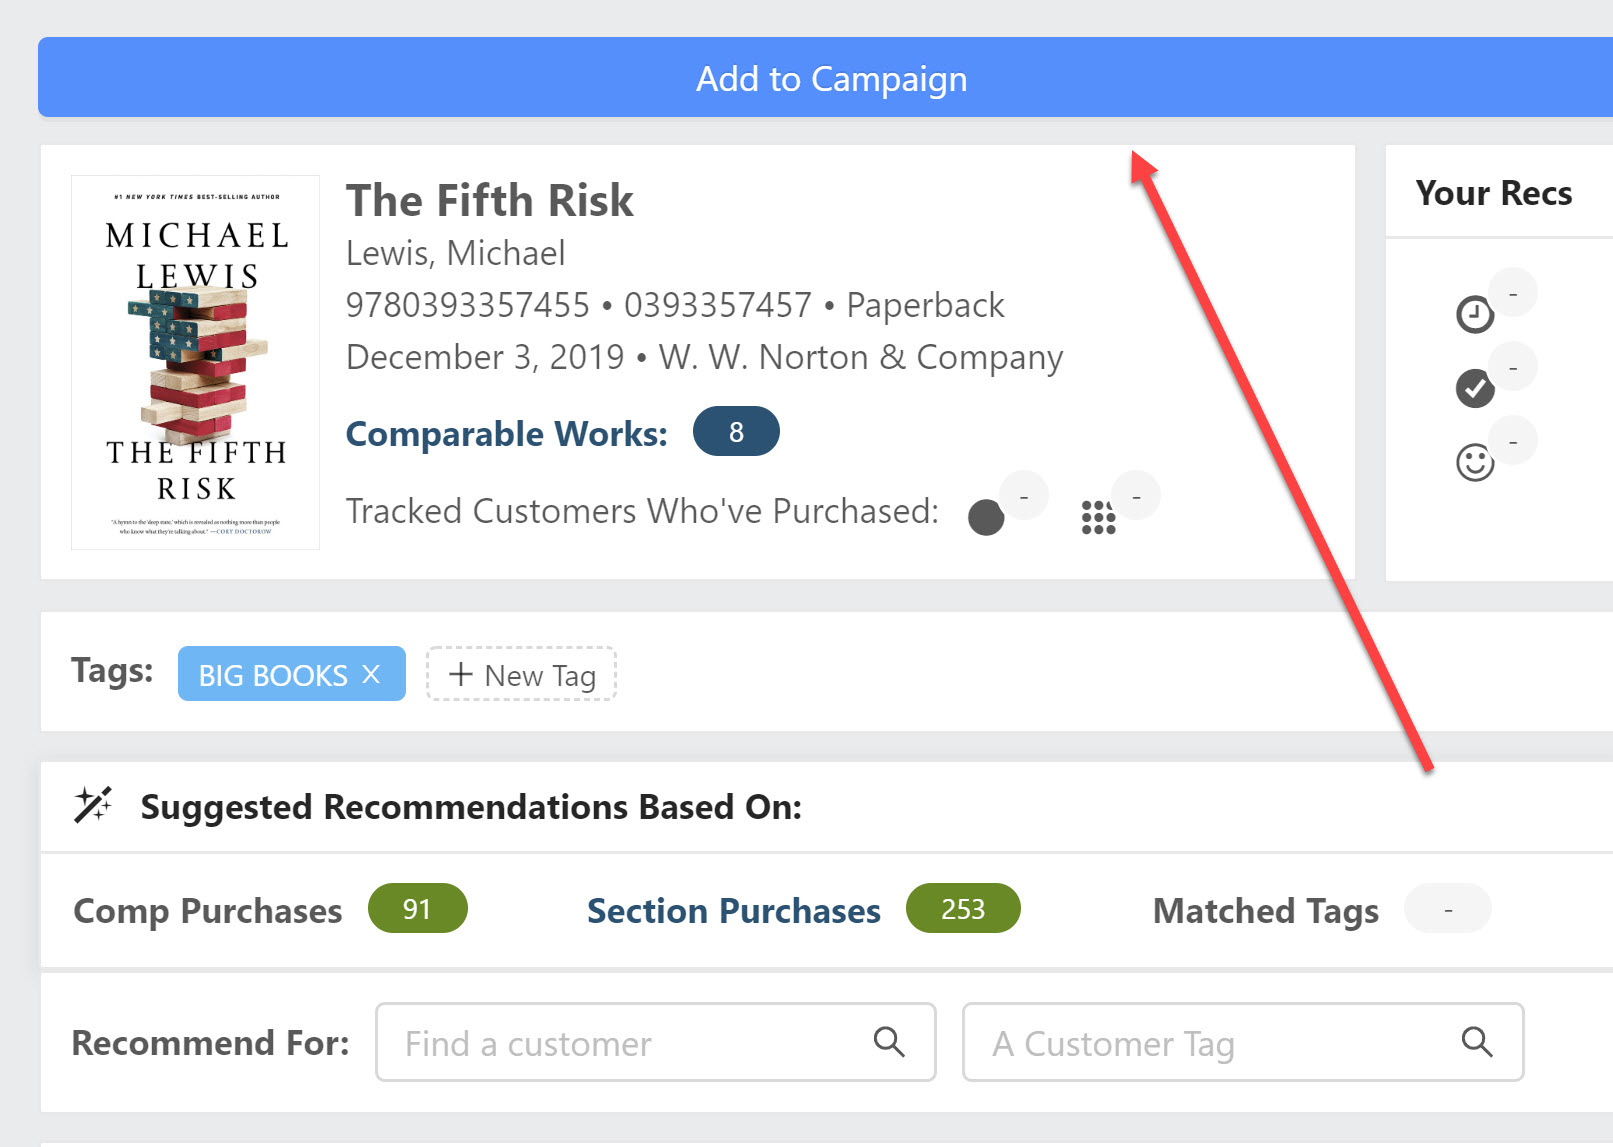
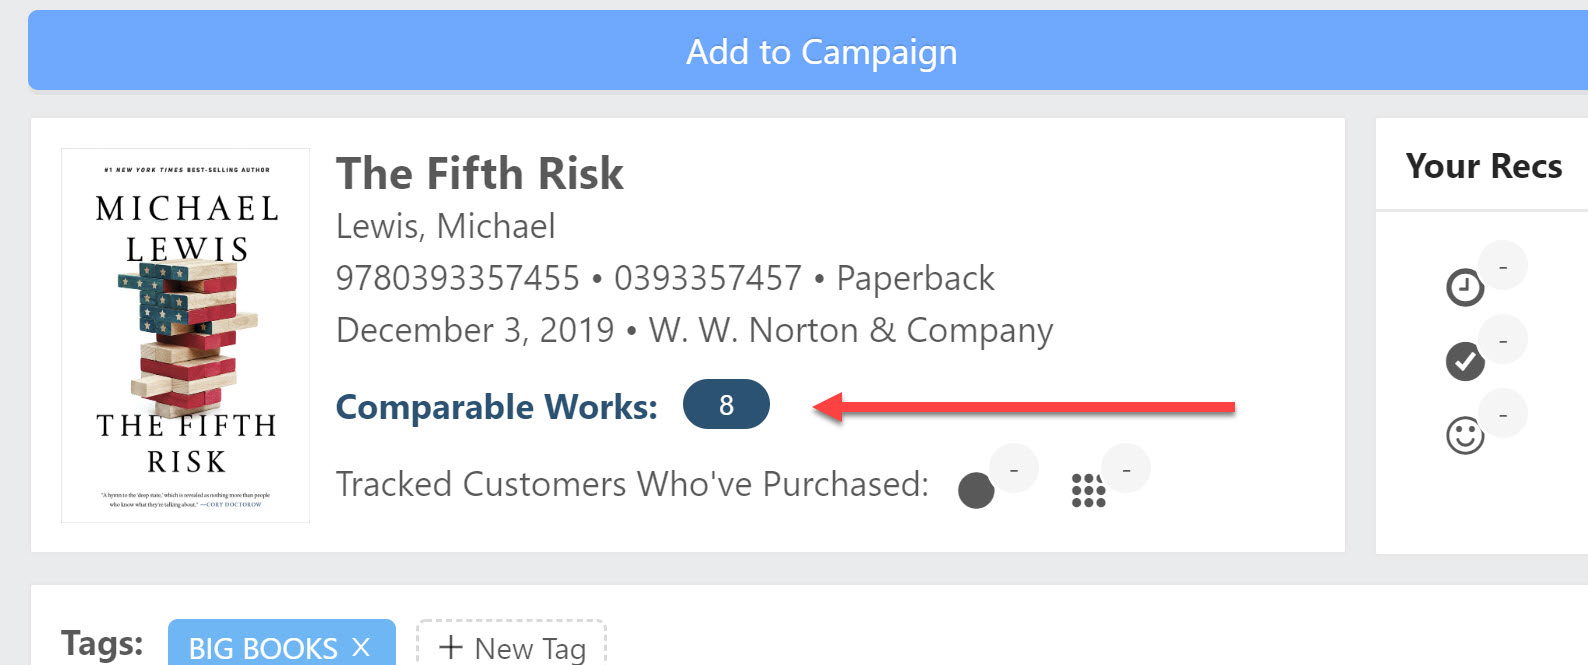
Alternatively, when you click on a title or event, you'll also see an "Add to Campaign" button at the top of the detail page.
Let's take a well-known author's title and build a campaign around gathering pre-orders for it, as well as selling as much of their backlist as we can.

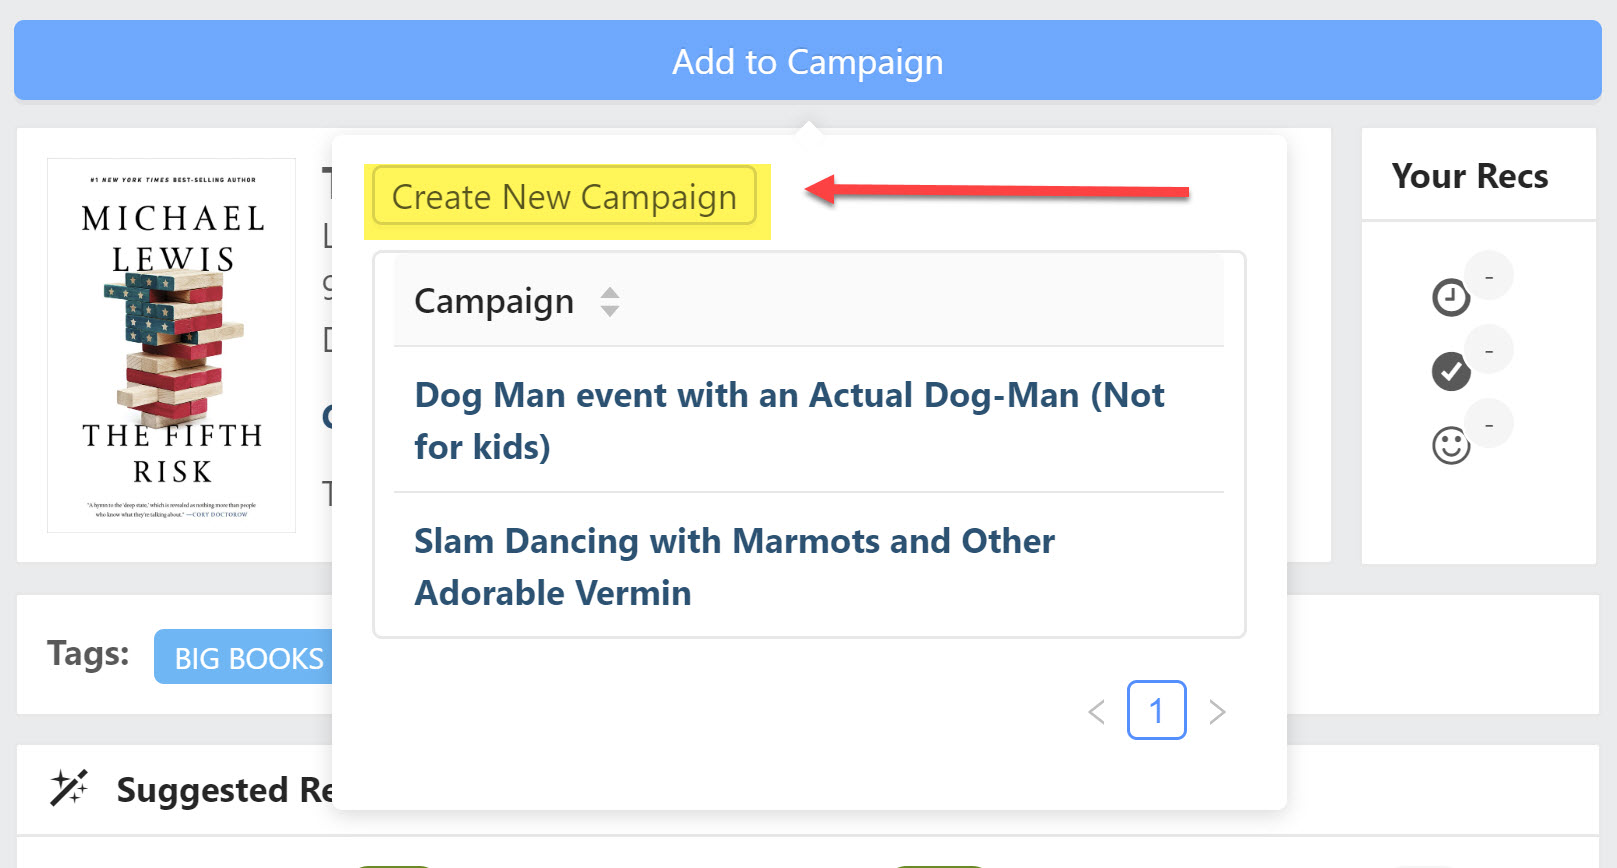
Let's explore the method of creating a campaign from the title detail page. You'll be able to choose from existing campaigns, if you have any, or create a new campaign:
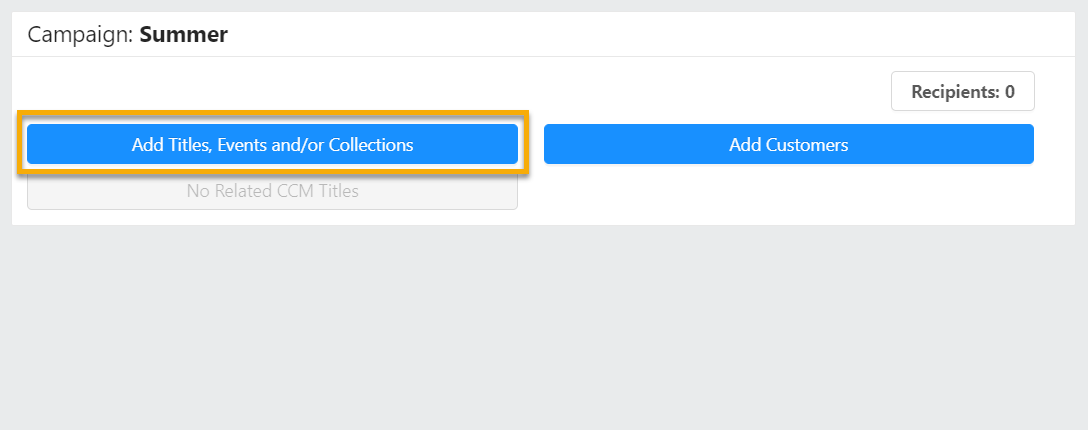
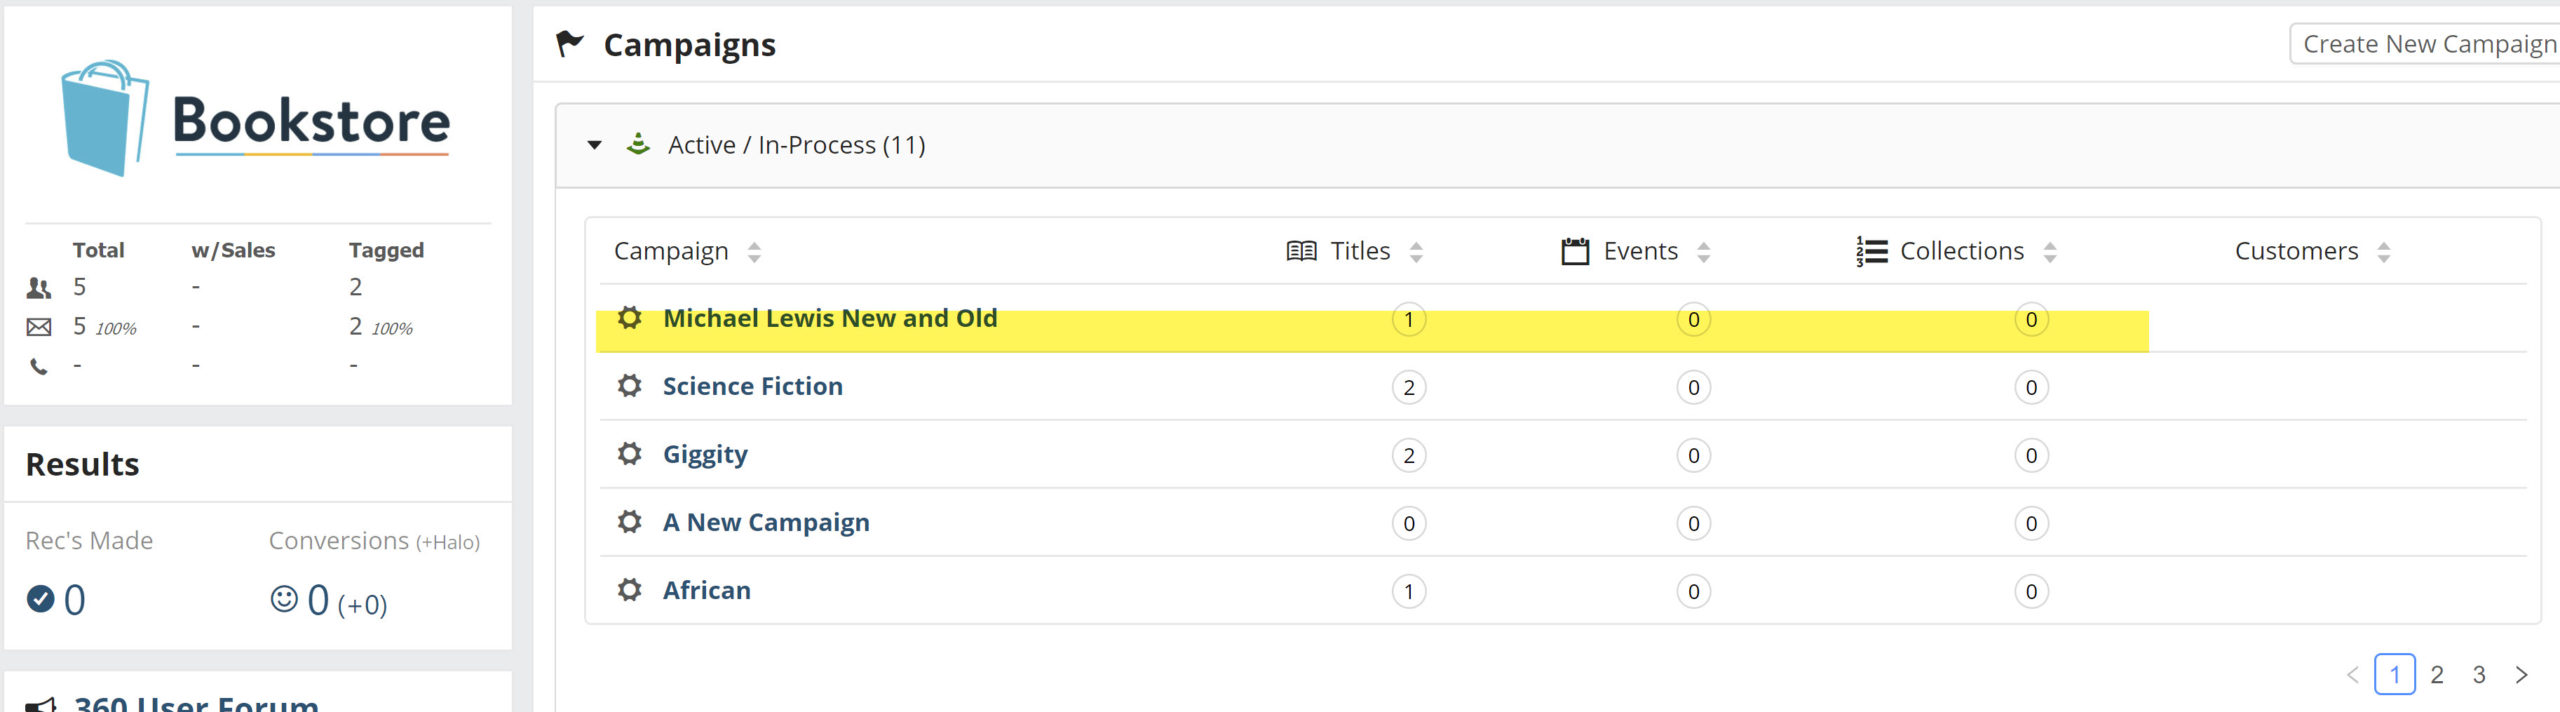
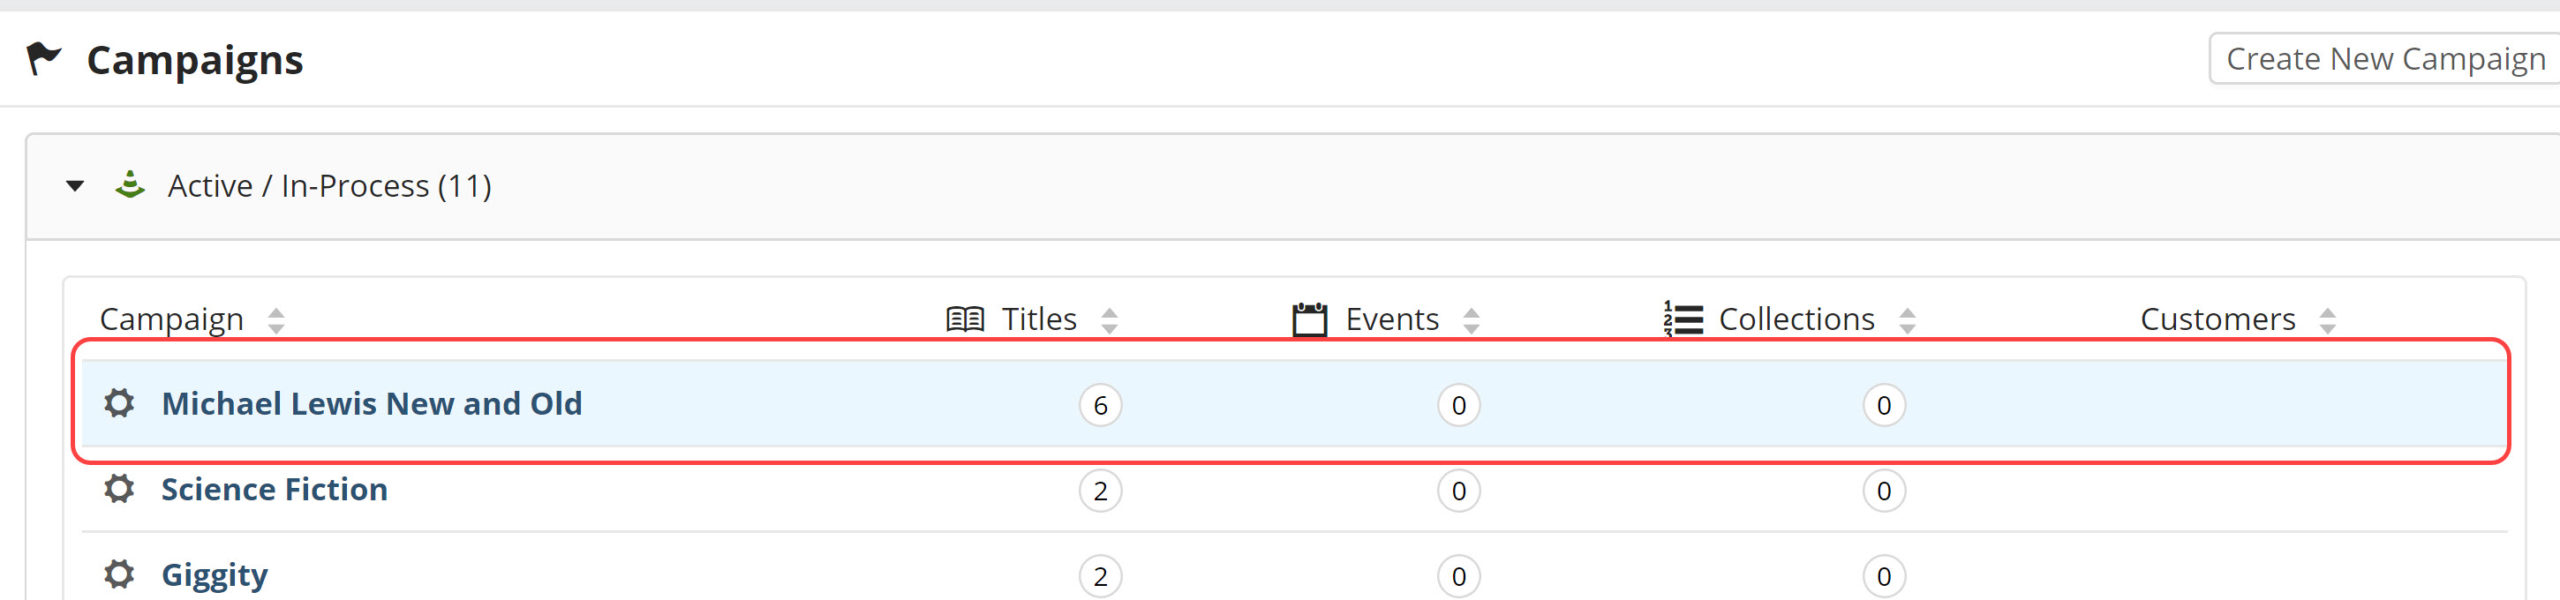
That campaign will be visible here, in your Active/In-Process section:
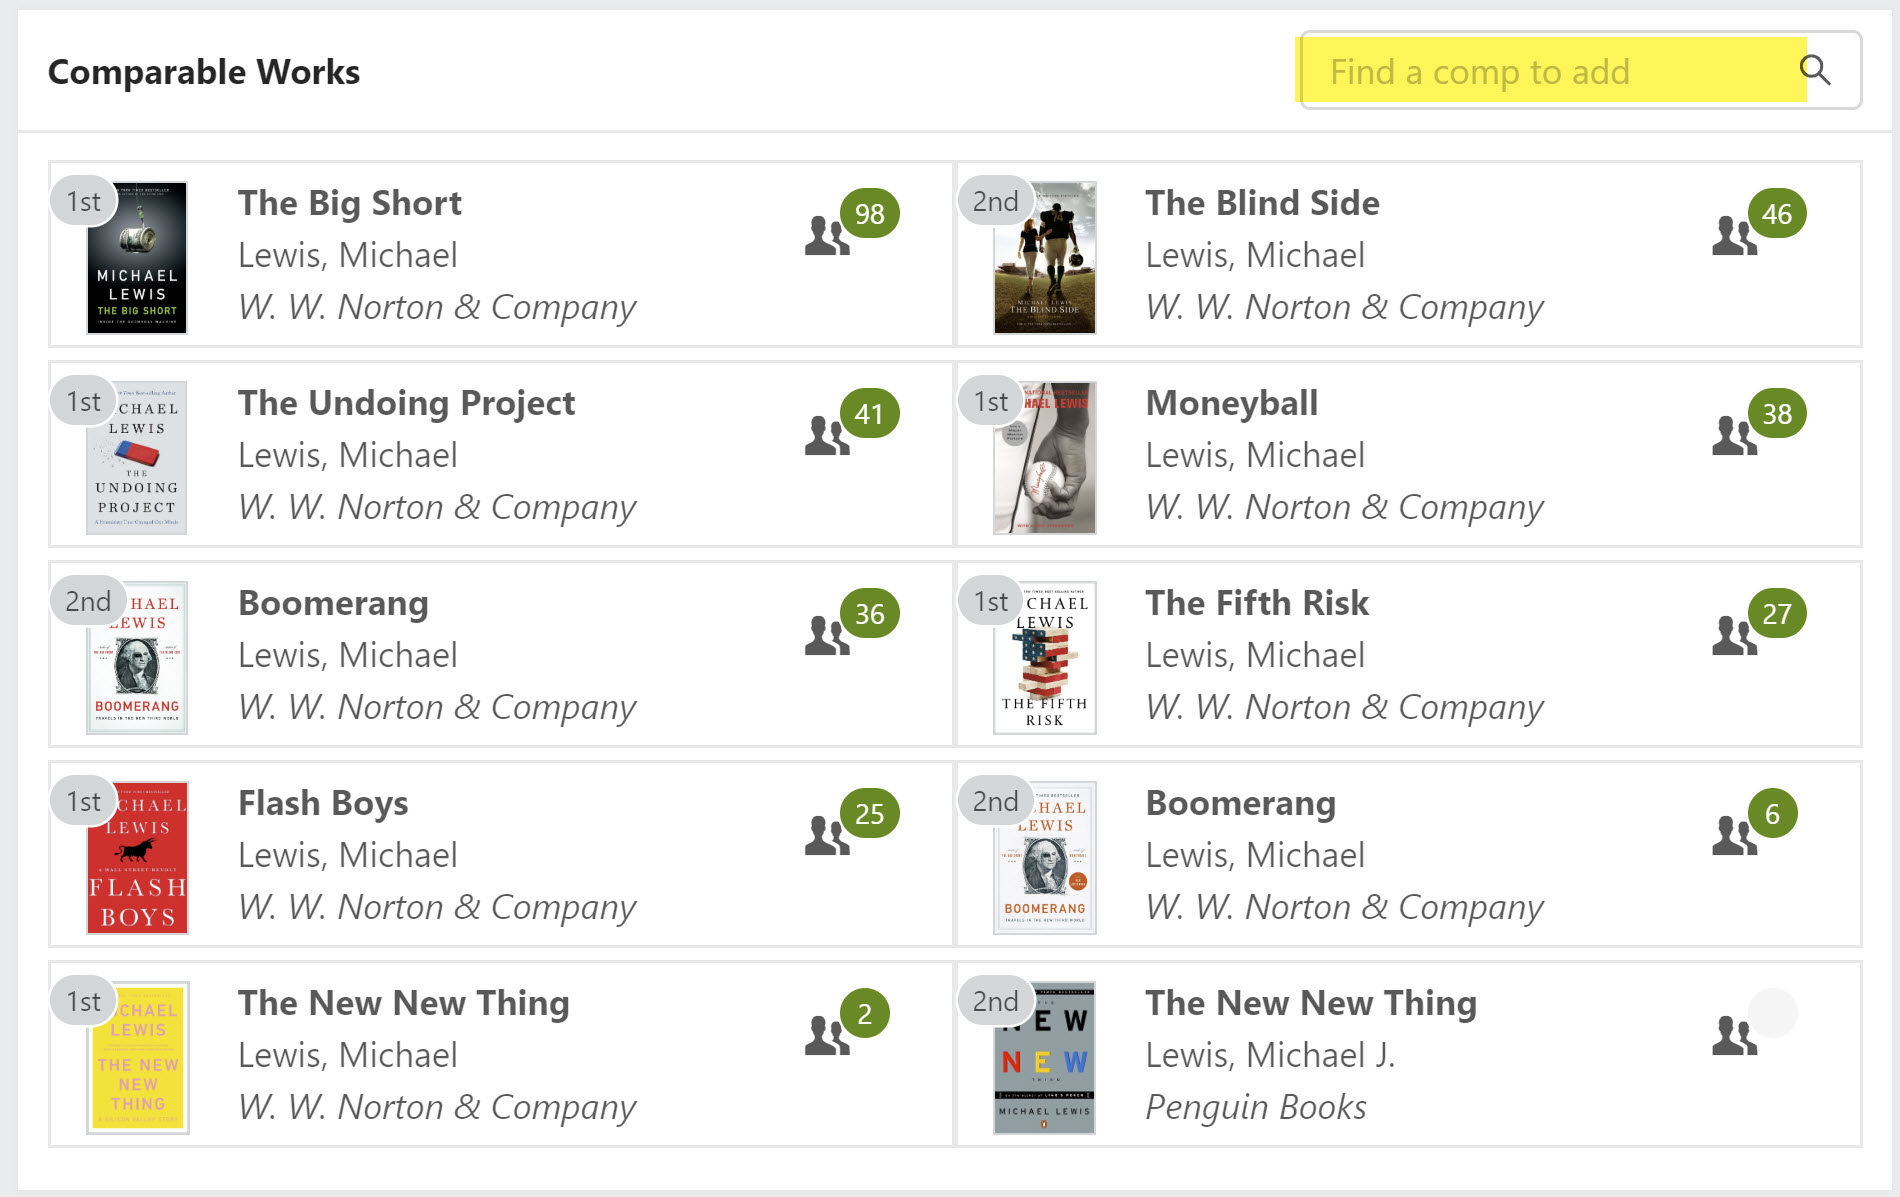
Since this campaign will include backlist titles, let's make sure the comps for The Fifth Risk are comprehensive. Click on the title again, and open Comparable Works:
Add and/or remove comps as you wish to create a complete list of likely titles/purchasers/etc.
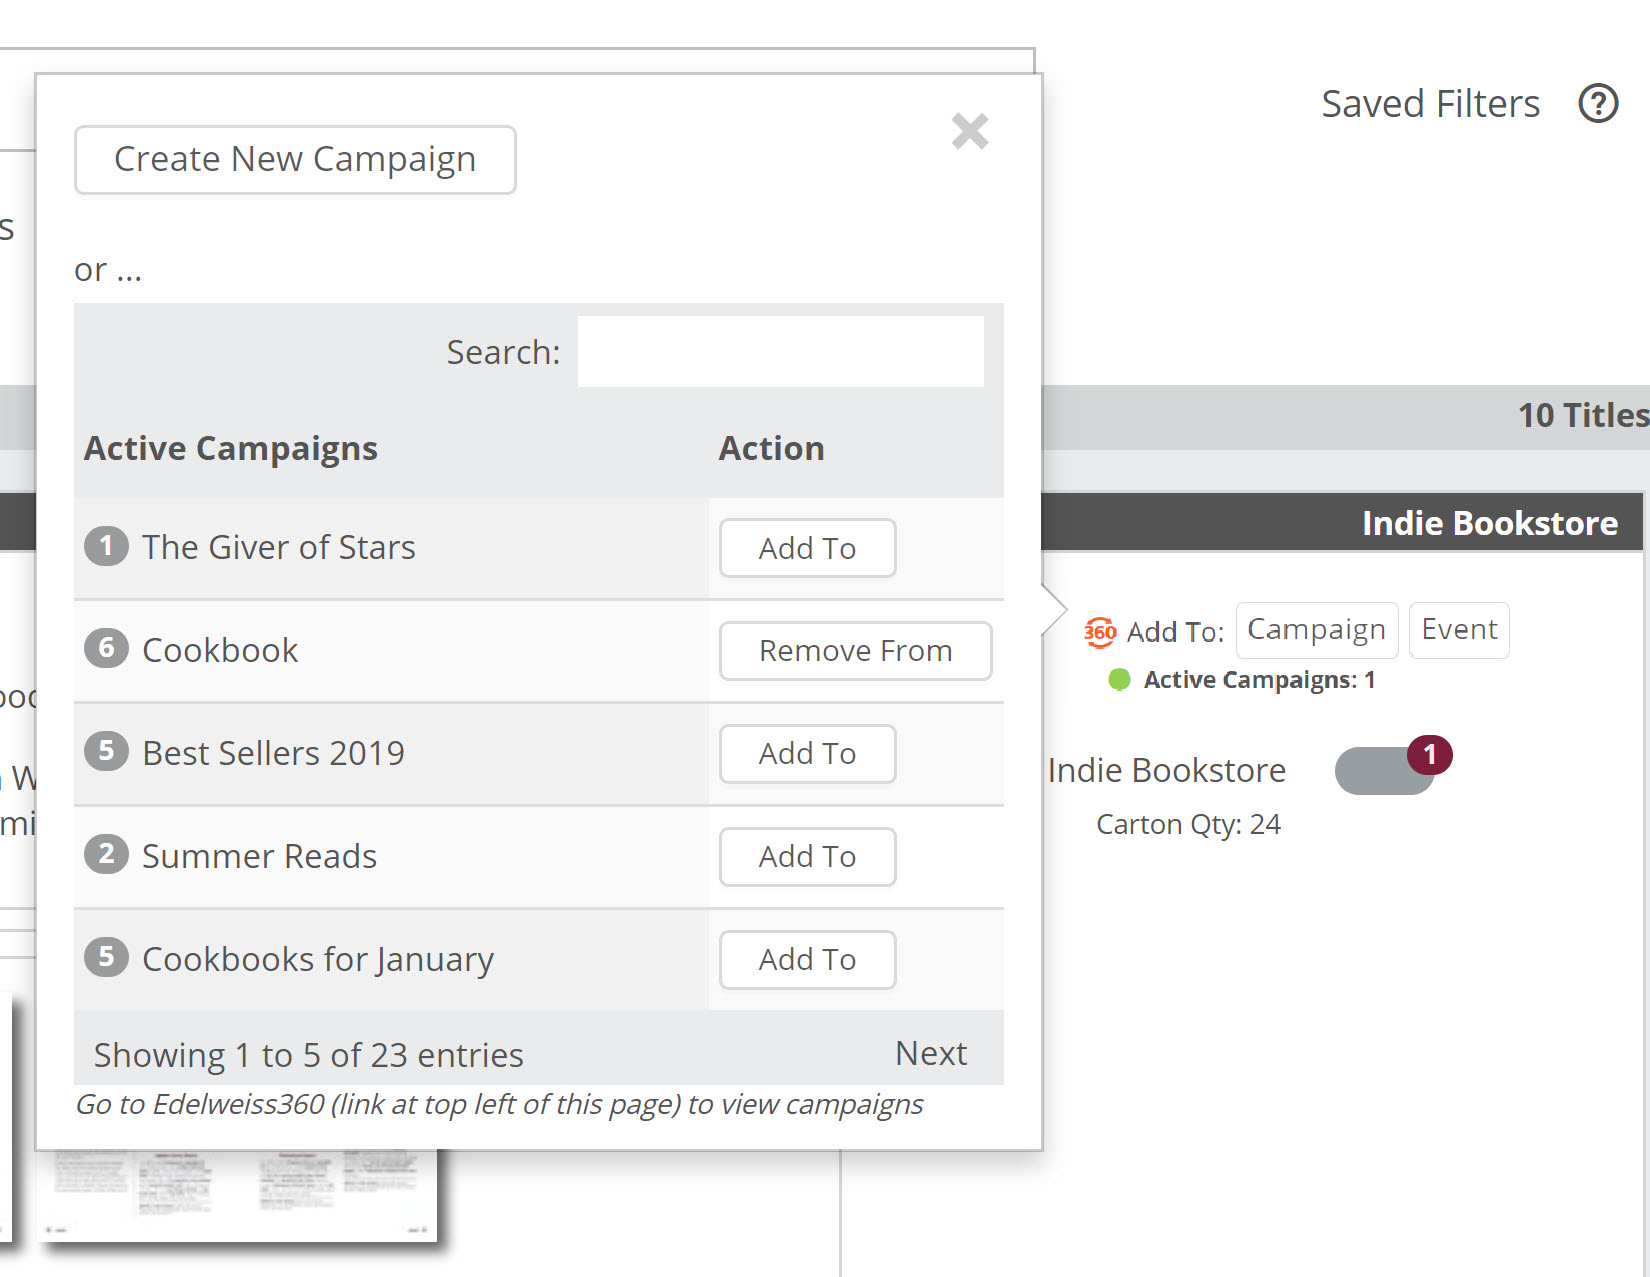
Note that (if you have Edelweiss360 access), you'll also see an "Add to Campaign" button on every title listing in Edelweiss itself:

You'll be able to add a title to or remove from a Campaign, see how many Active Campaigns in which a title is included, and even create a new campaign, right there in an Edelweiss catalog.
Back to the current example. We've added more Michael Lewis and now have 6 titles in this campaign.
Click on the title of your campaign to open this window:
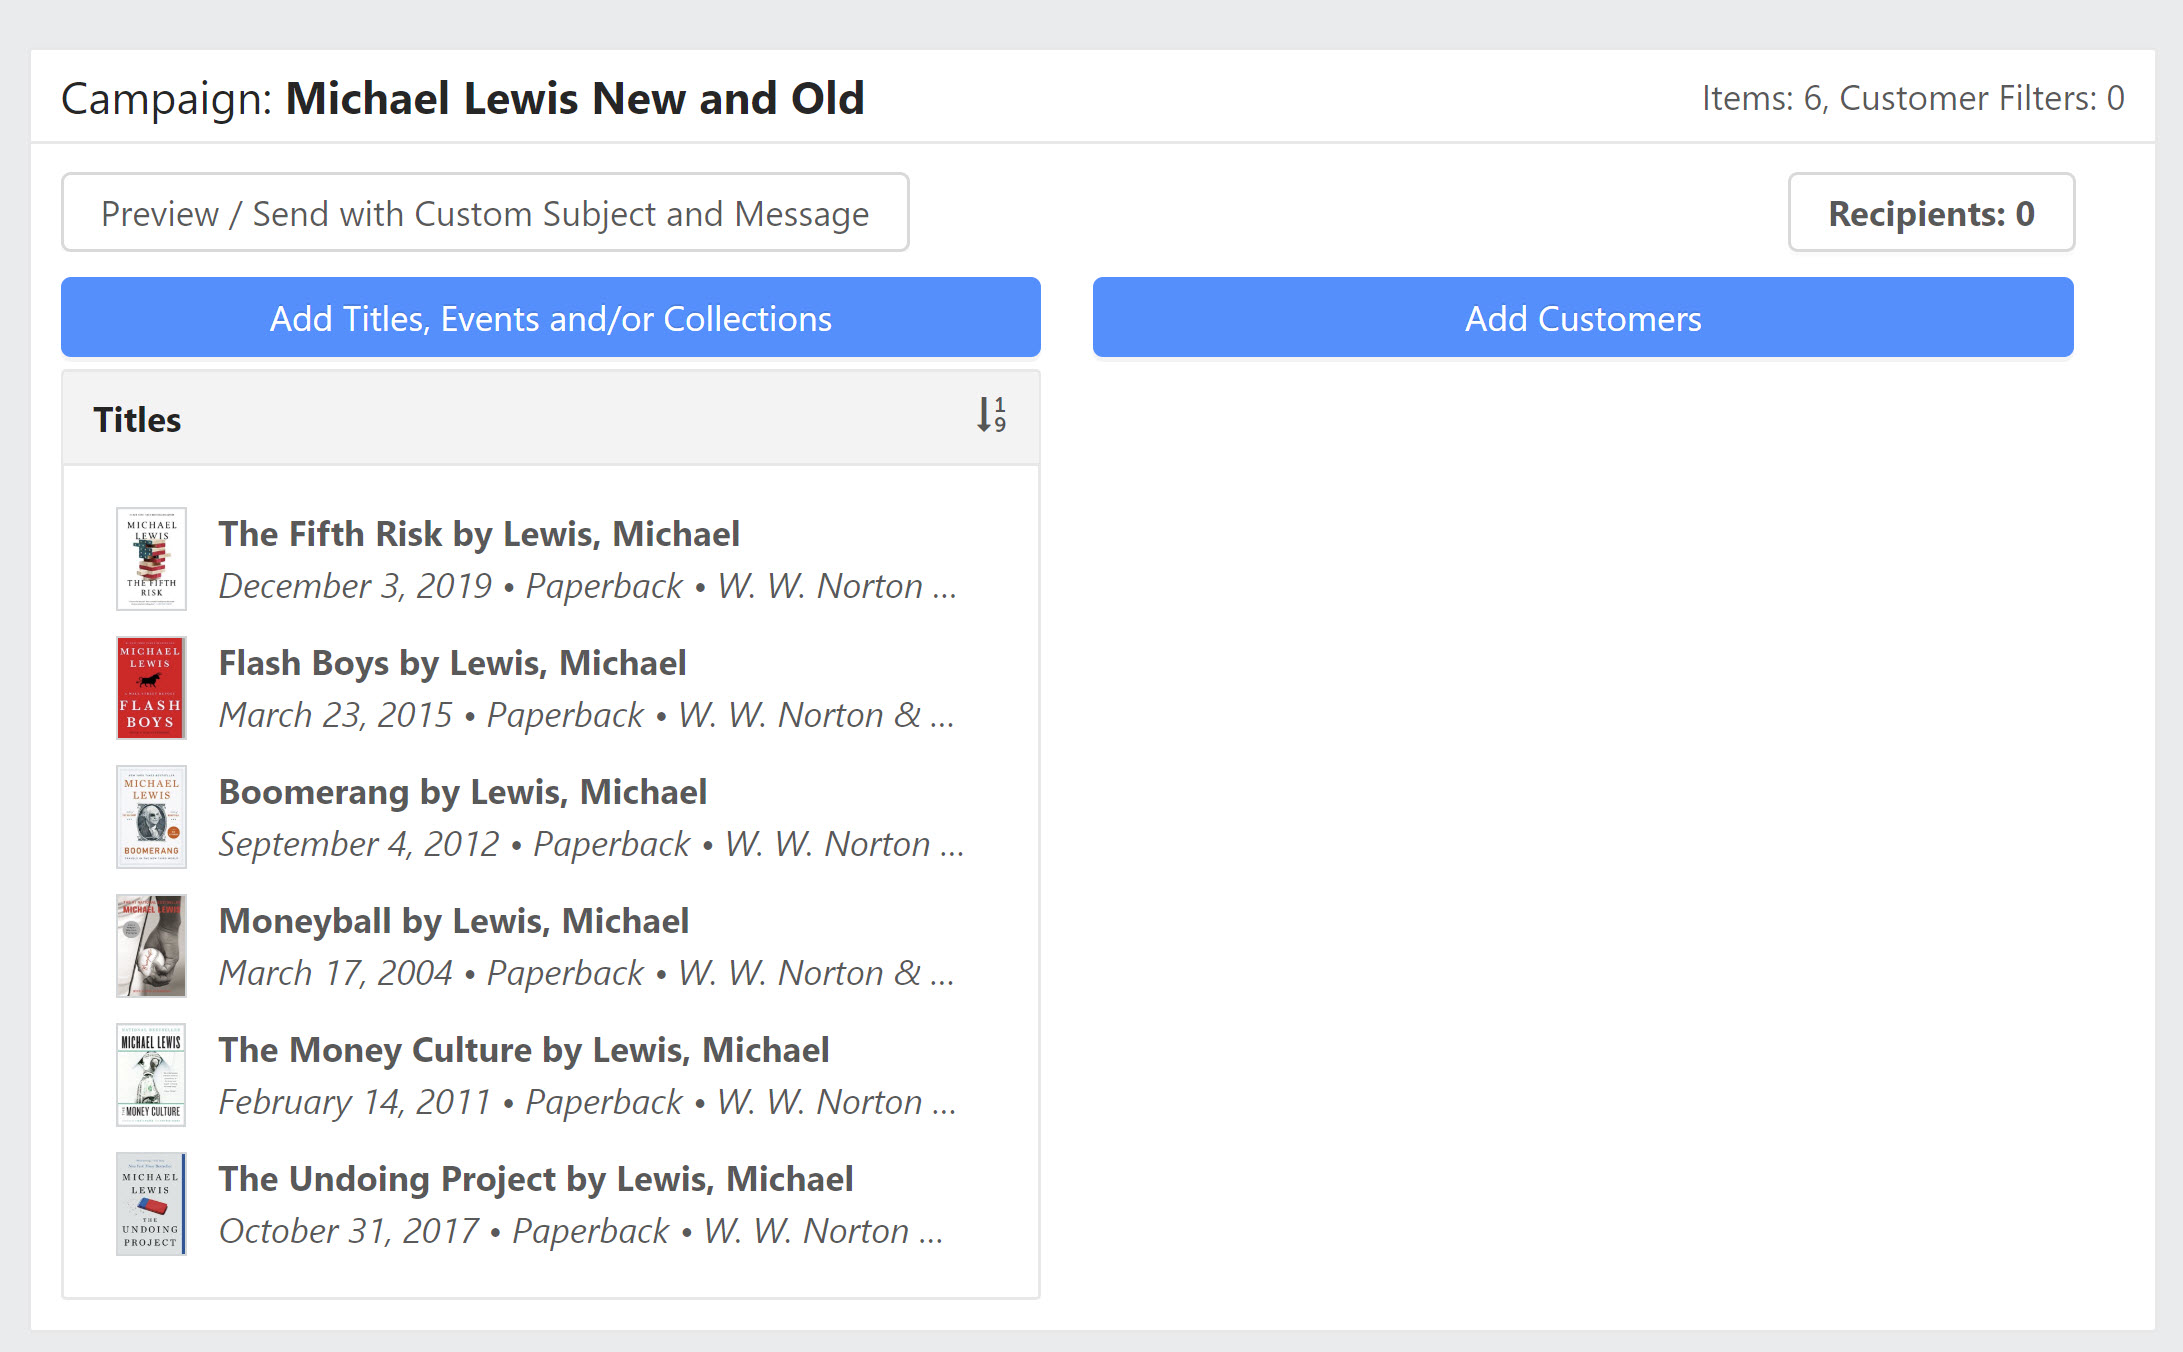
Now, you can add additional titles, events (do you have upcoming events that might be of interest to readers of Michael Lewis?), or collections.
Note that you also have the ability to add a list of titles to a campaign in one fell swoop with the Bulk add titles button. If you are working from a longer list of ISBNs, this option might be most efficient.
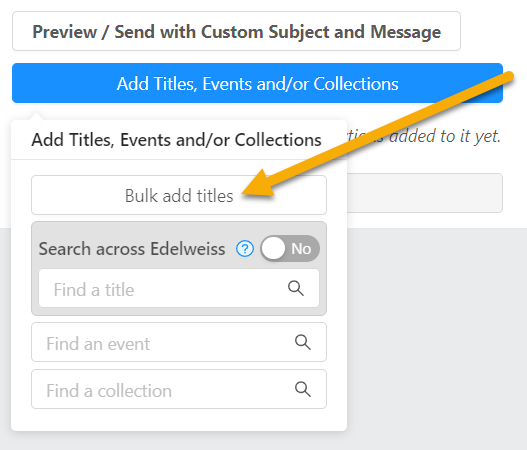
In the resulting window, simply paste in a list of ISBNs.

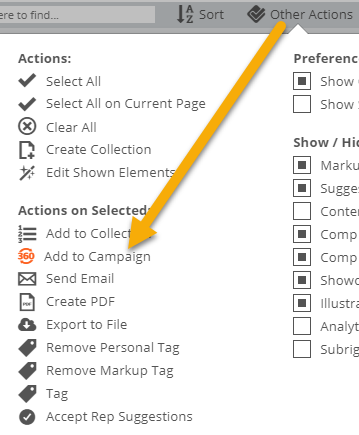
From Edelweiss, you can also add multiple titles to a campaign at once by selecting your desired titles and clicking Add to Campaign in the Other Actions menu. You'll see a list of your existing campaigns as well as the option to create a new one.
Choosing Recipients:
Now, let's add customers.
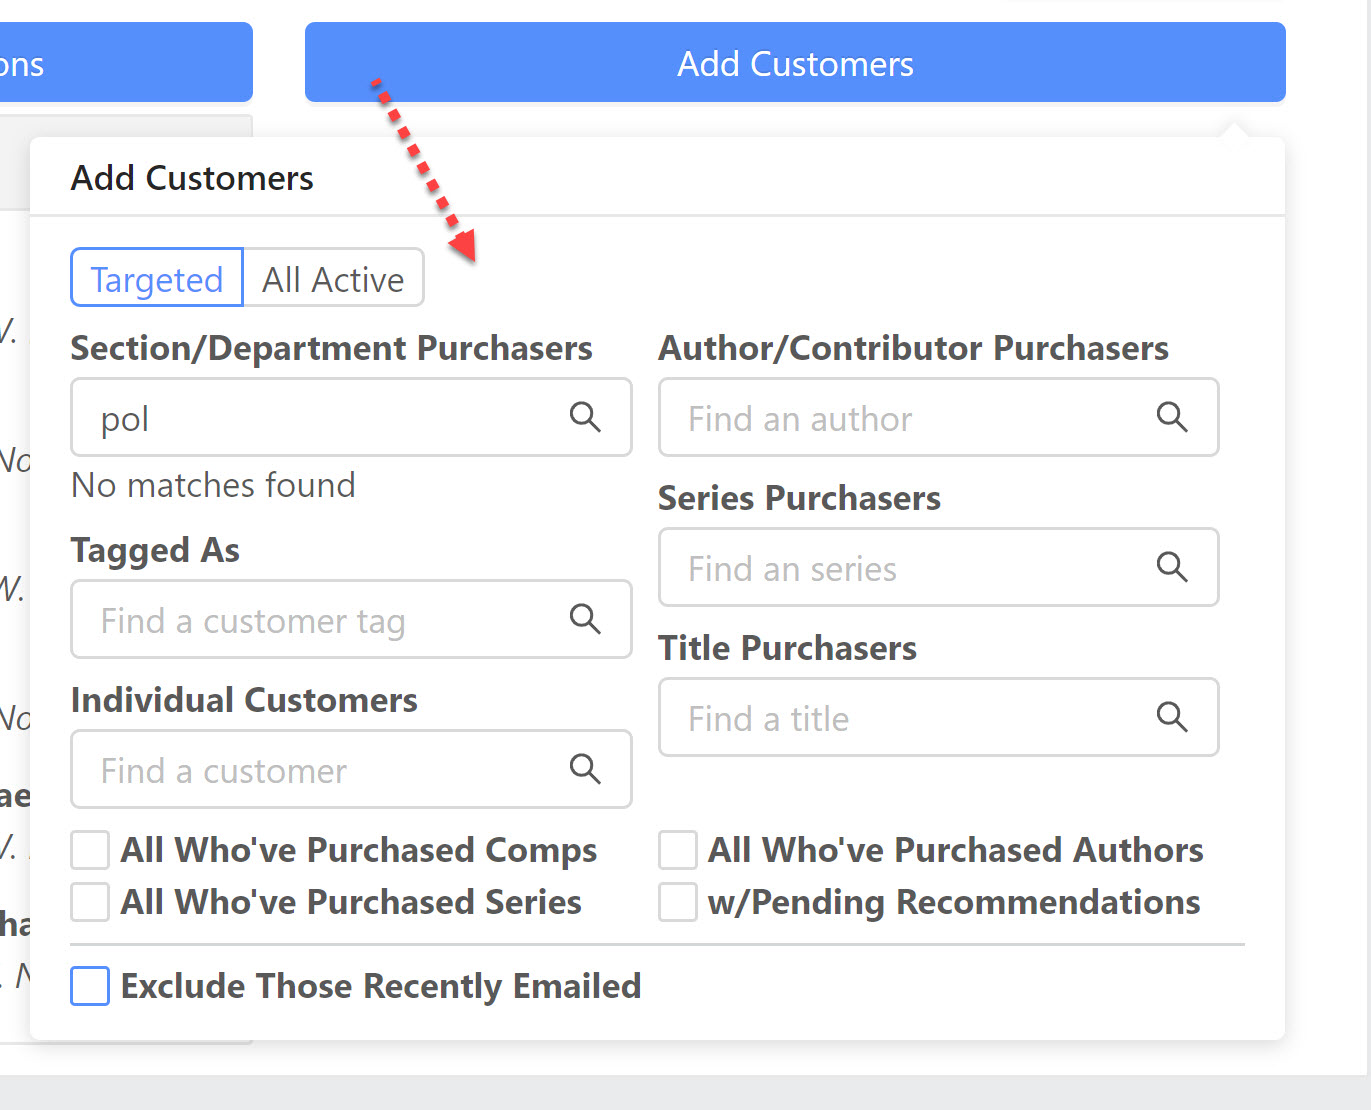
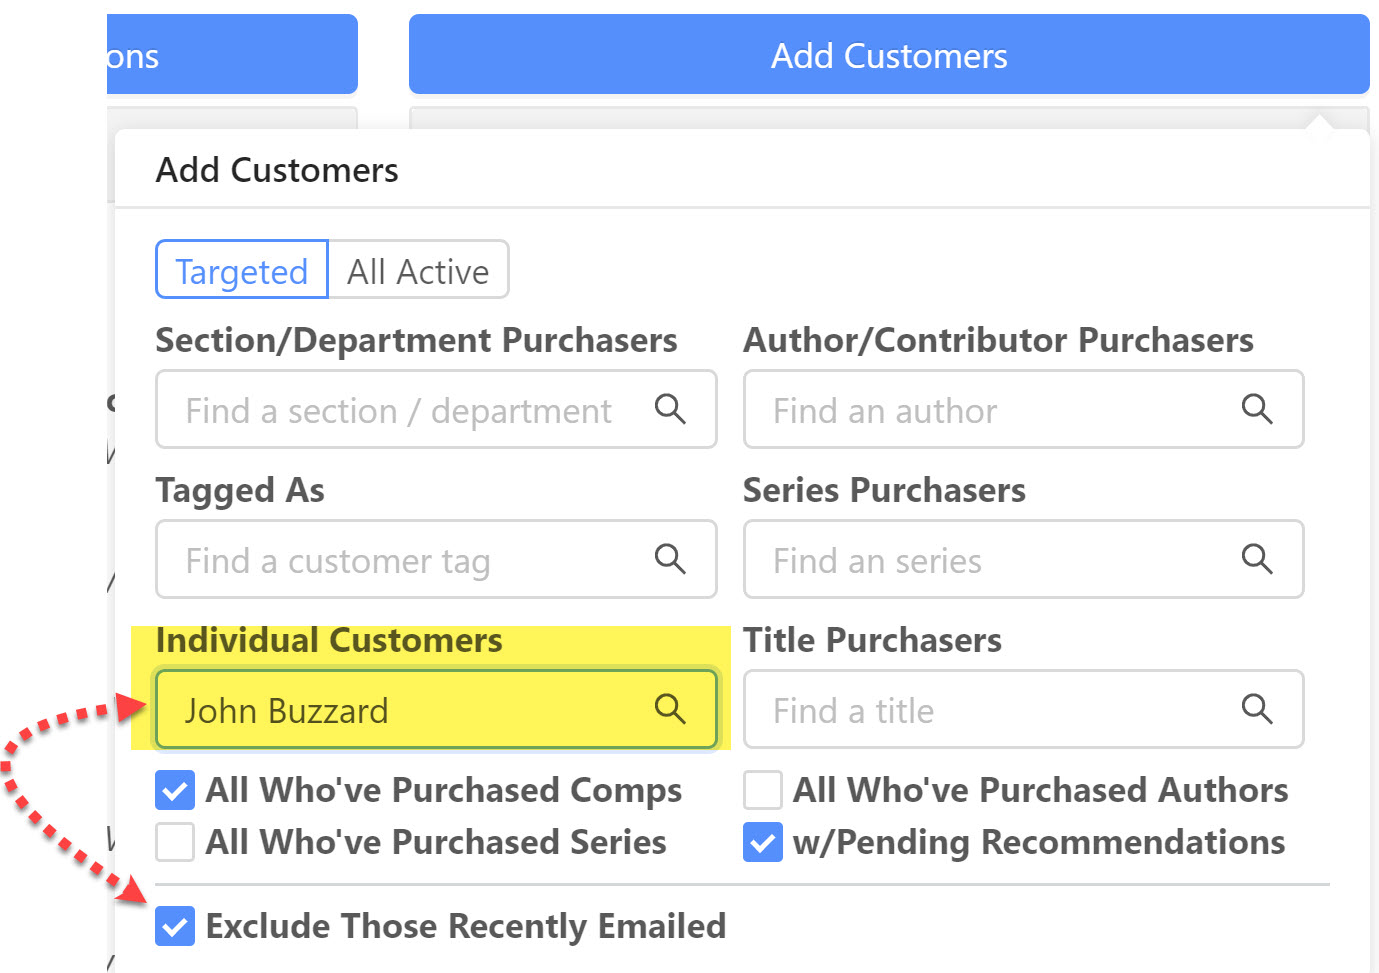
As you can see, there are a number of options for pulling in recipients. Perhaps the most obvious choice is "All Who've Purchased Comps," to grab customers who have already displayed their interest with their wallets, so to speak. We'll also add anyone who has purchased titles from your Politics/Current Events section and customers tagged with "Politics." (See how to Tag customers here.) We'll exclude any customers who have received a campaign in the last 2 weeks:

You can override that exclusion for specific people (your employees, specific super-fan customers, etc.) by adding them in the Individual Customers field.
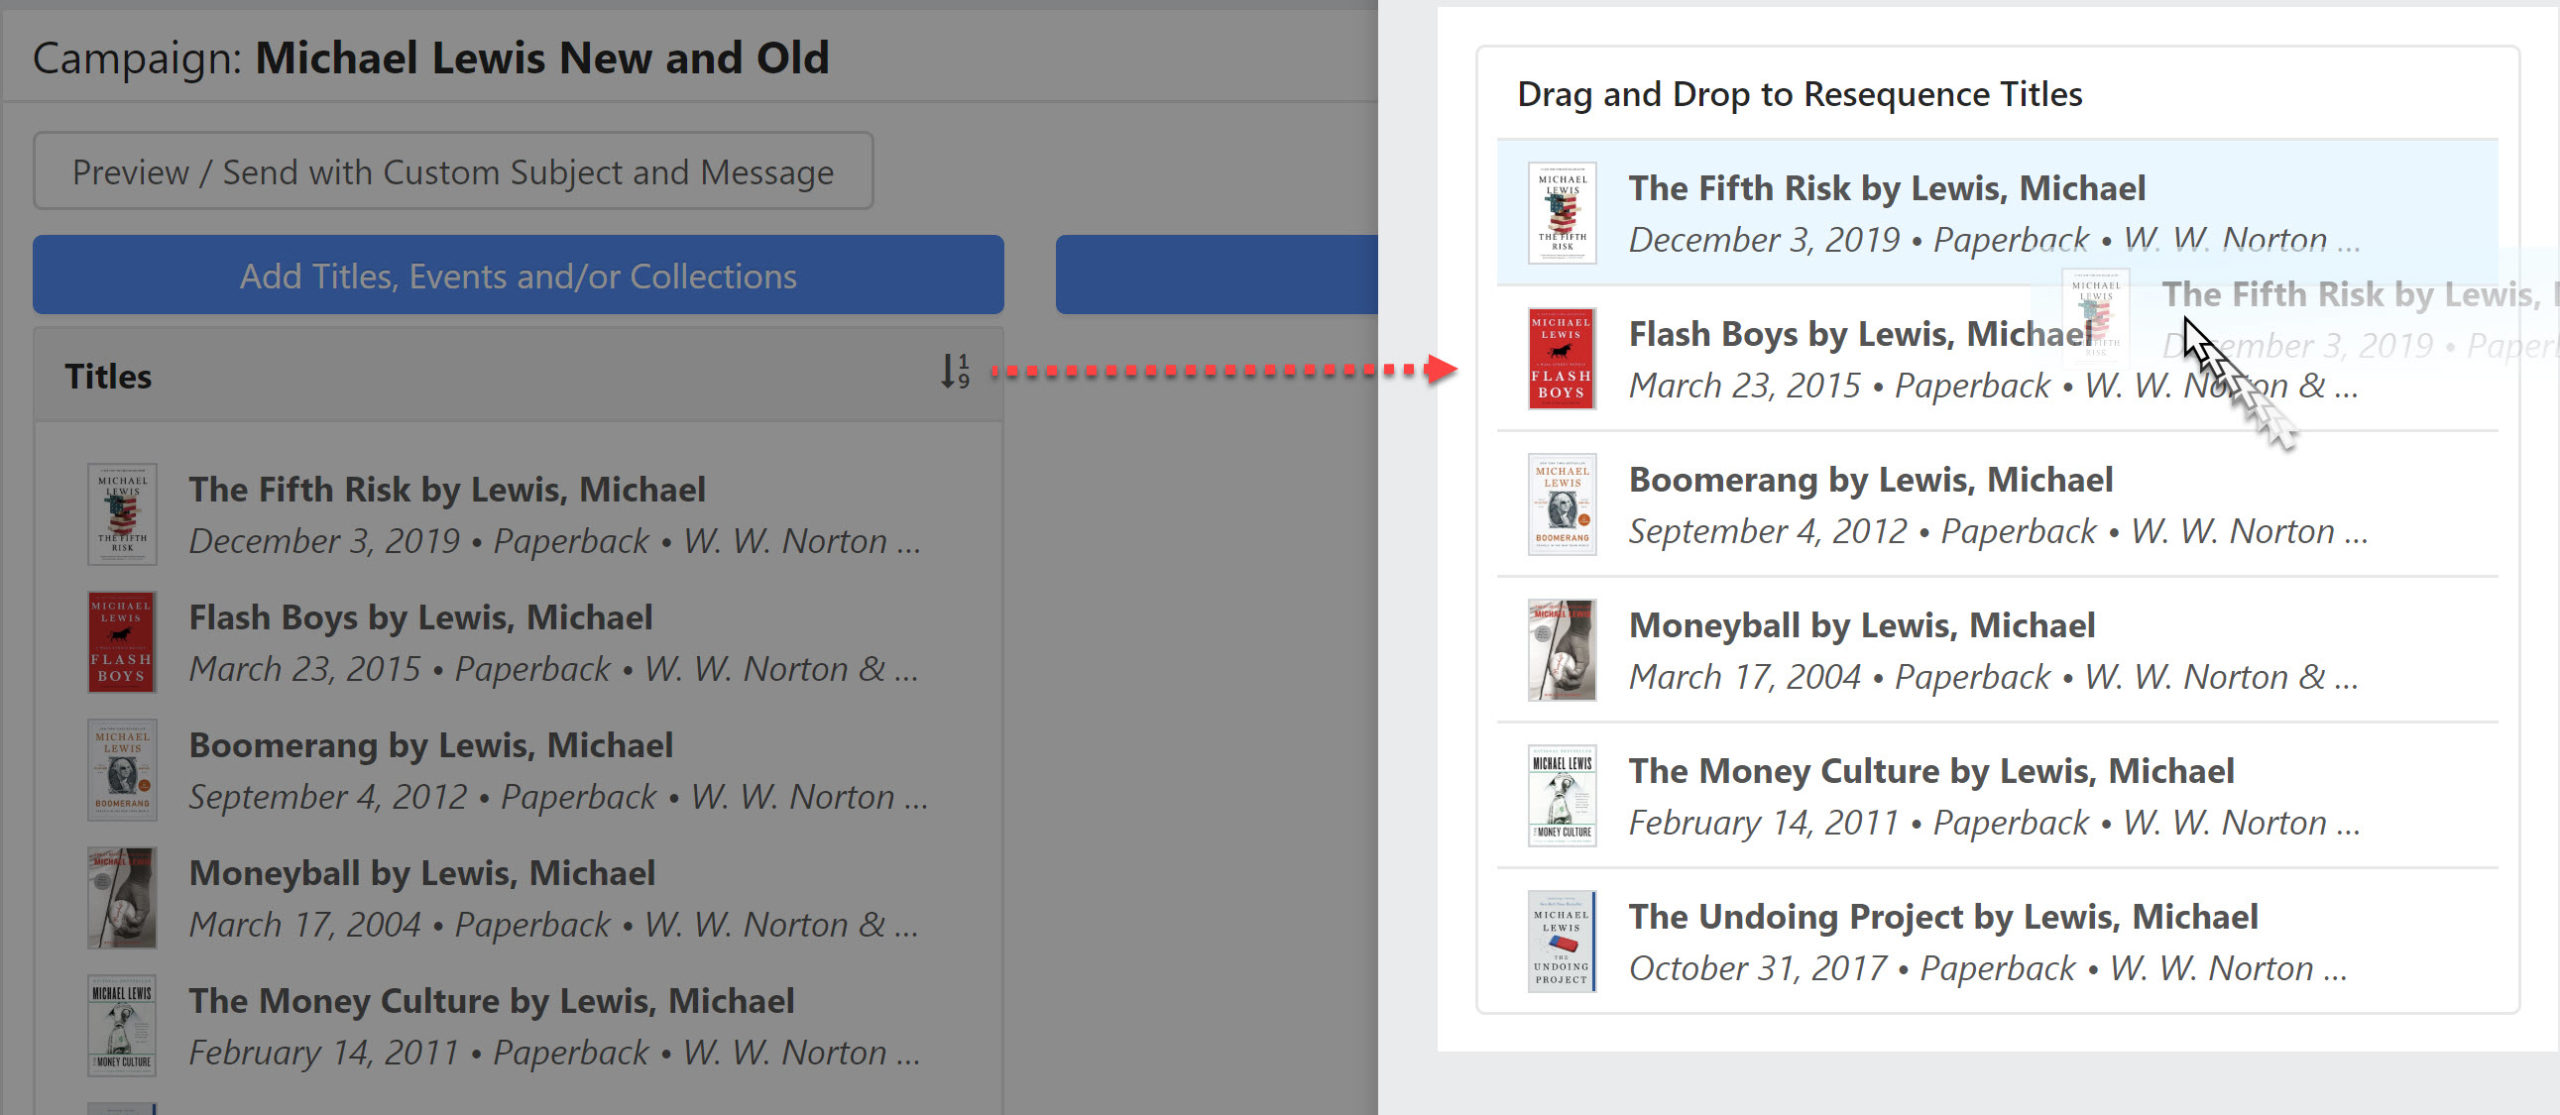
Reordering Titles:
You can also change the order of titles in your email. Click the sort button and you'll be able to simply drag and drop titles into any order.
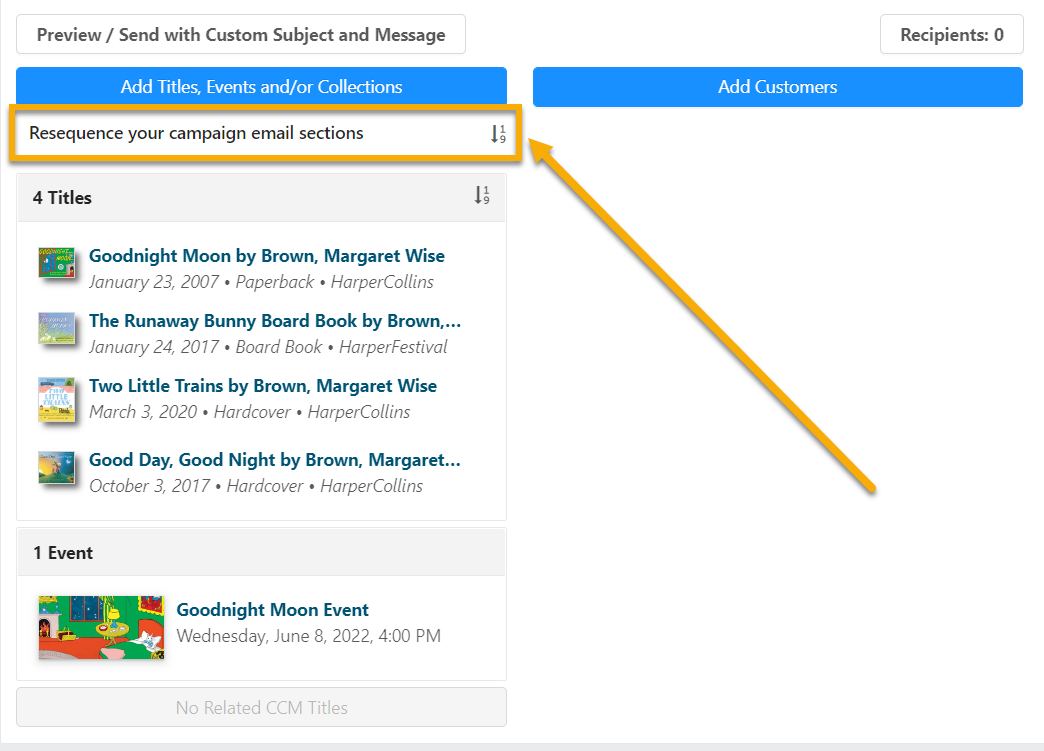
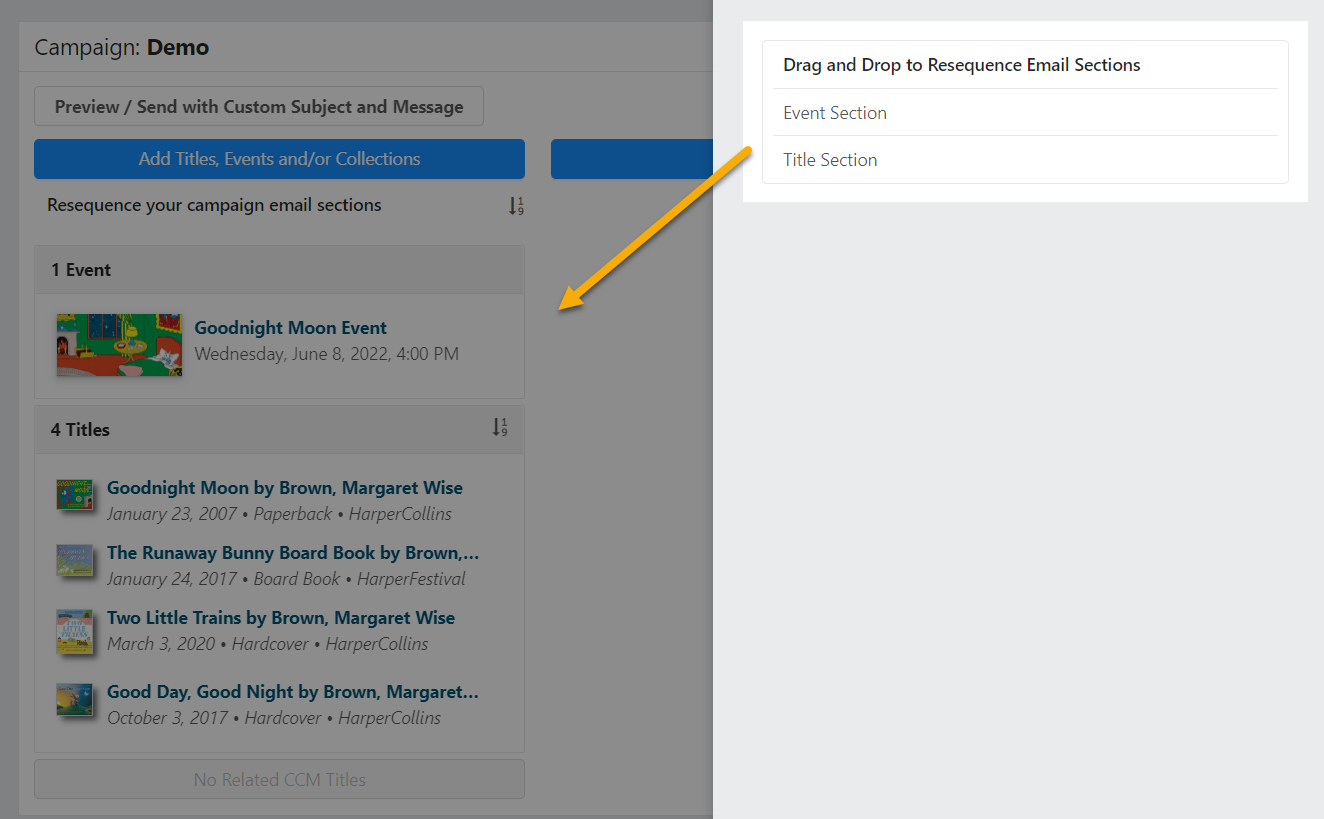
Reordering Campaign Sections:
If this campaign included events and/or collections as well, we would have the option of reordering the campaign sections themselves. By default, titles are displayed first, followed by events, and then collections. If you'd like events to display before titles in a campaign, for example, select Resequence your campaign email sections. In the next window, drag and drop to reorder the sections.

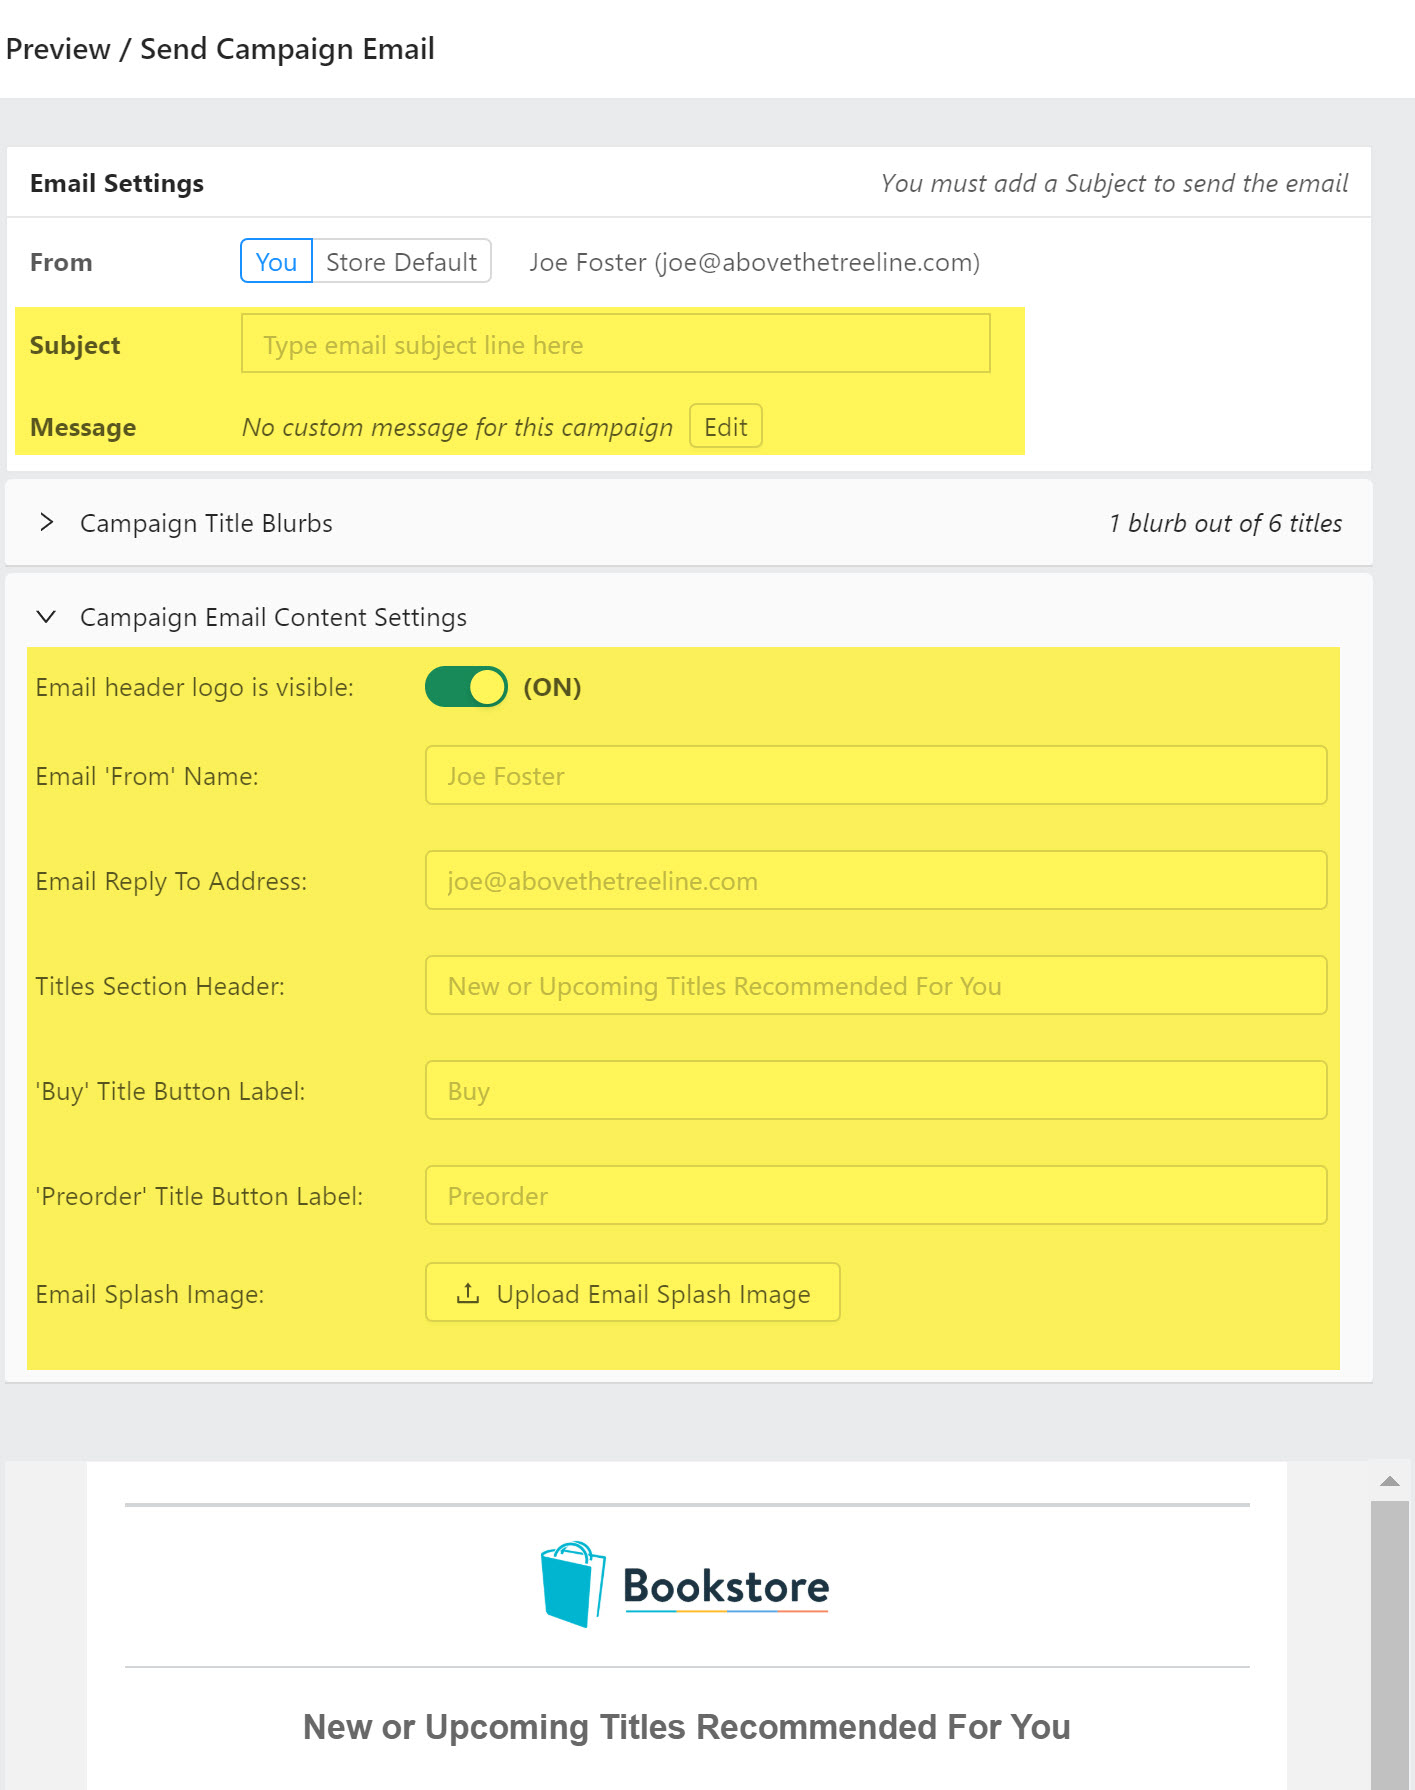
Previewing, Adding a Message, Blurbs, and Customizing Email Content Settings:
Now that we have an almost completed campaign, let's take a look at how the email will appear for its recipients by clicking the "Preview / Send with Custom Subject and Message" button at the top of the screen. You can add a custom Subject Line and Message for this campaign, as well as customize different elements of your email (See details about setting default preferences for your emails here).
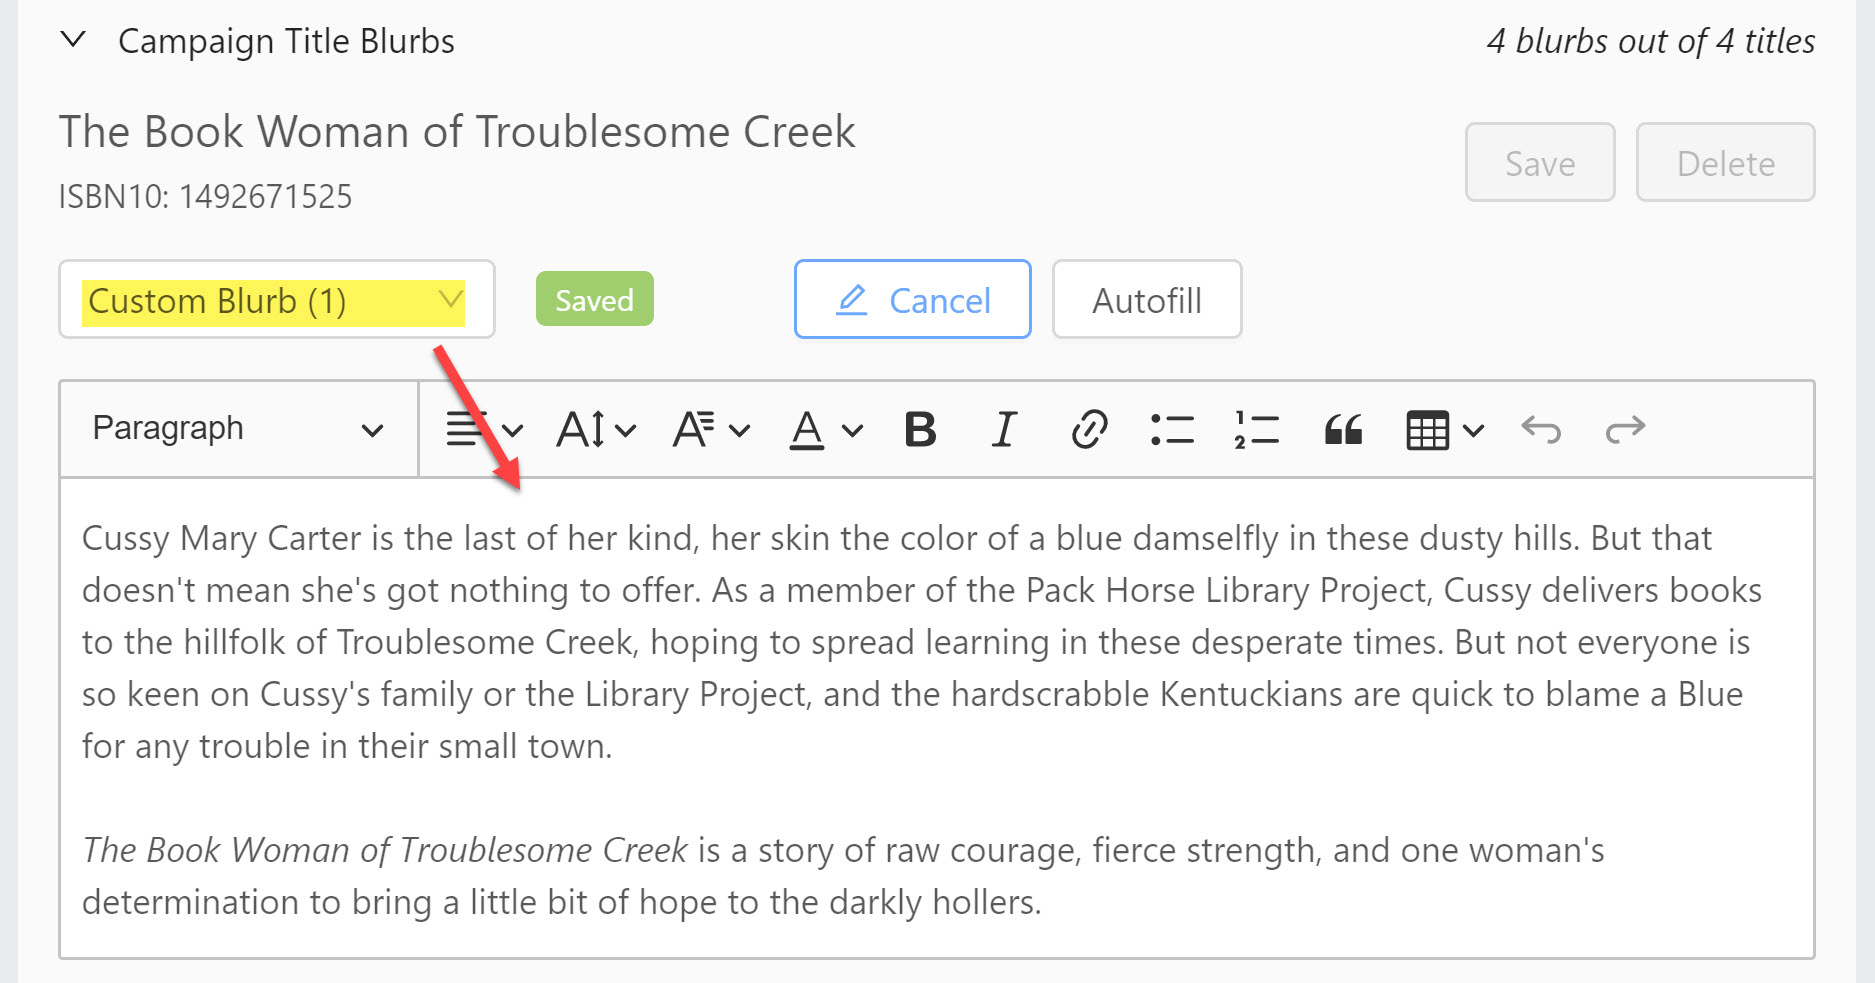
Learn all about Title Blurbs here.
The Titles Section Header refers to this verbiage:
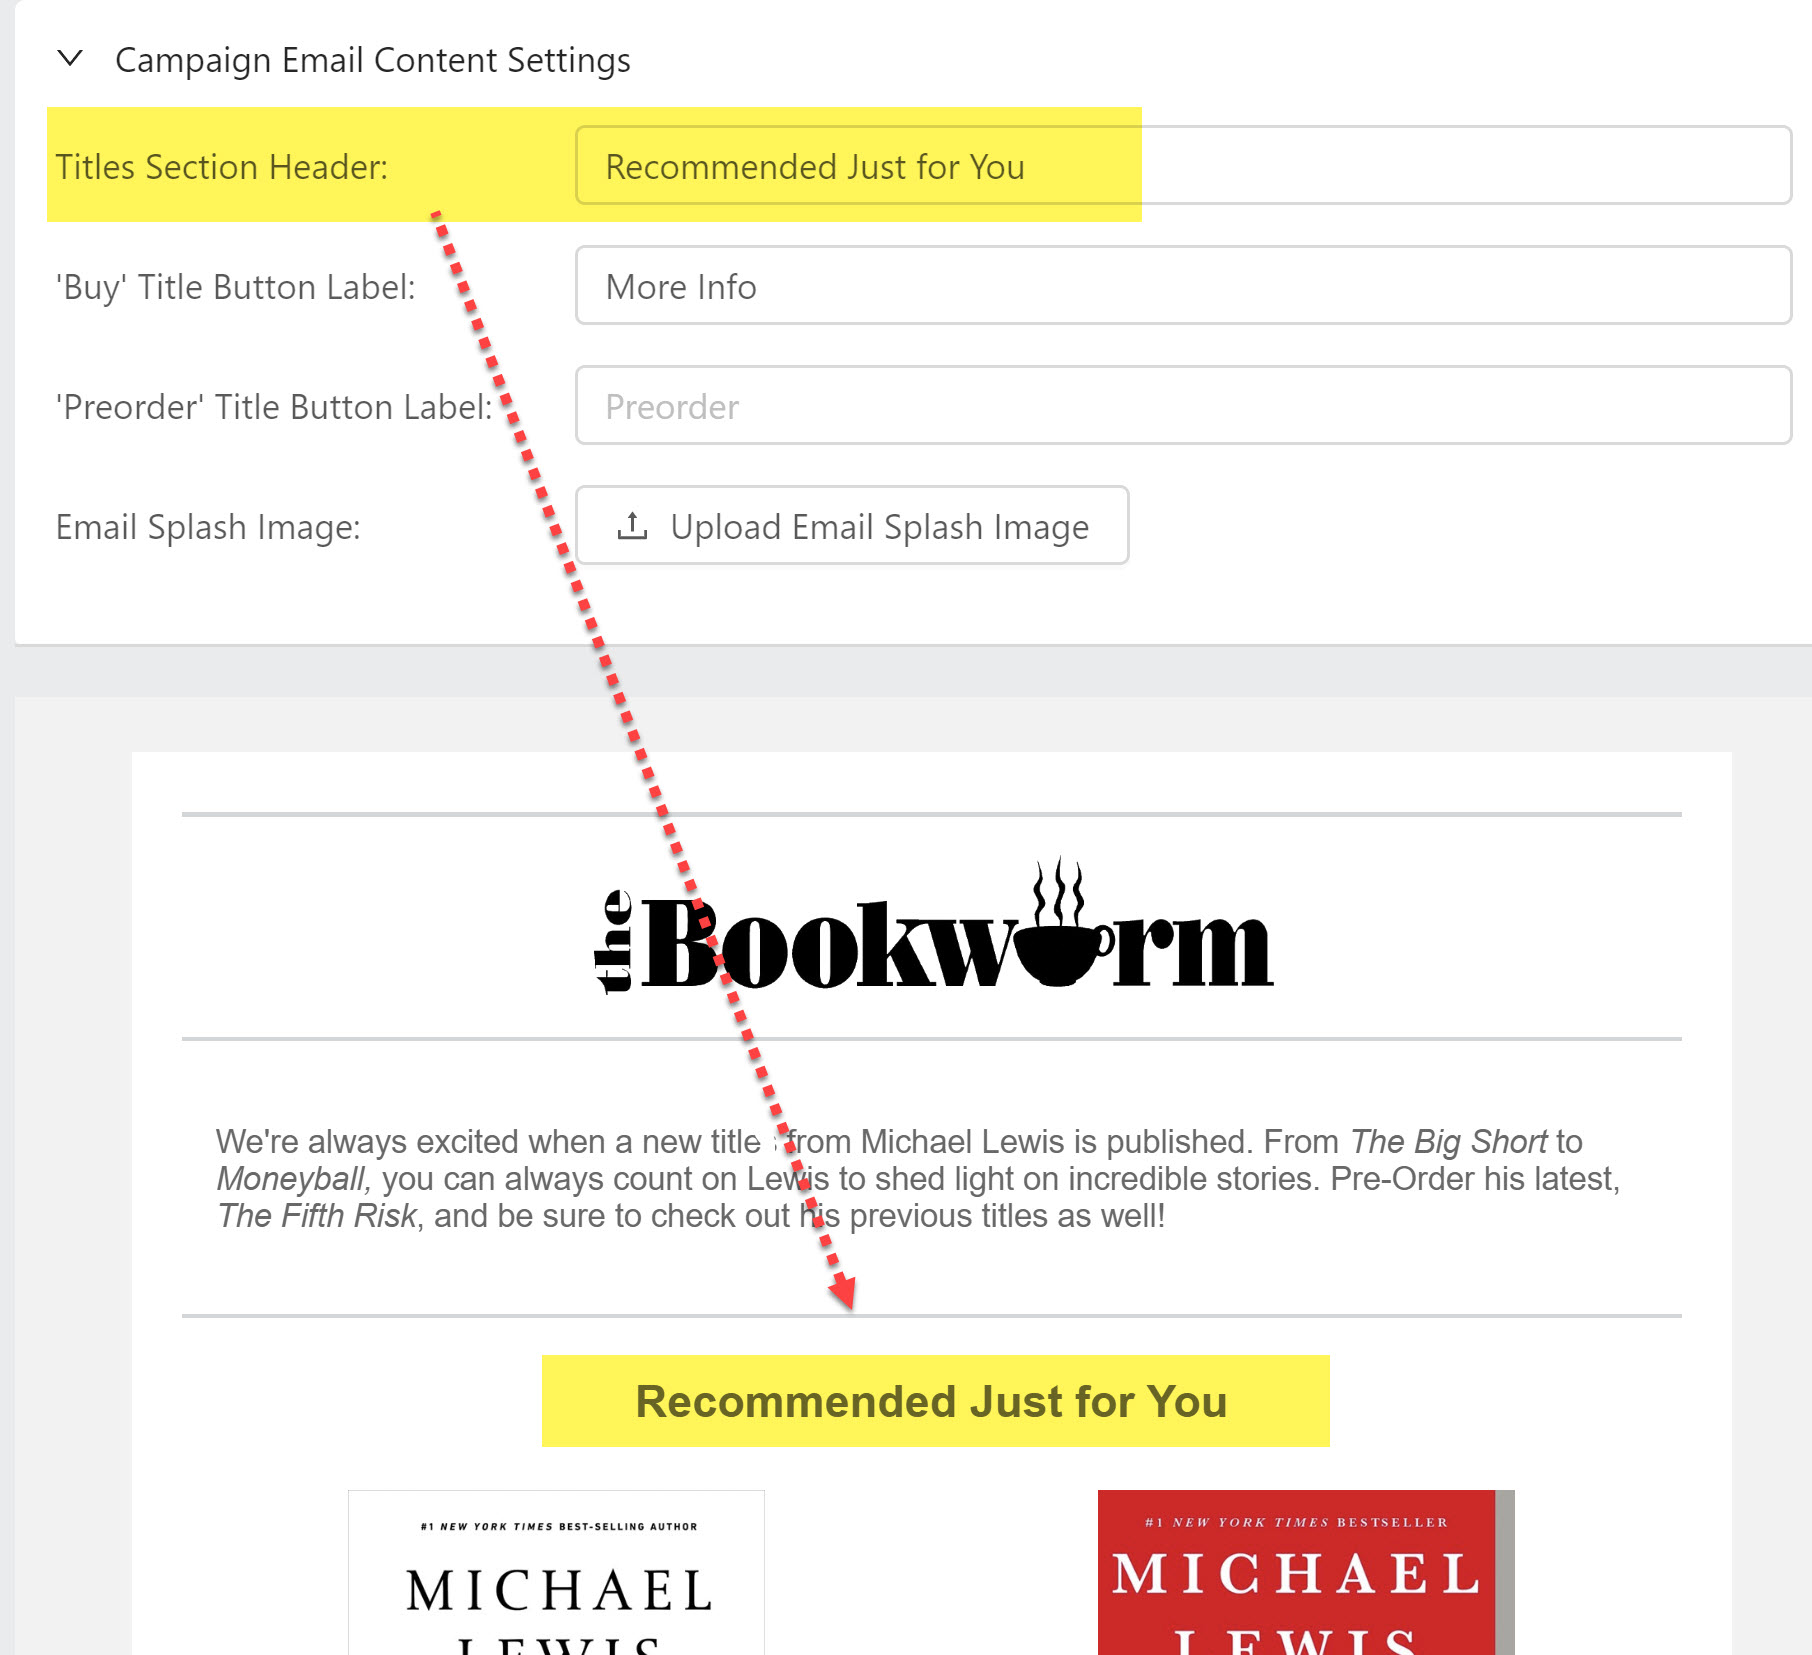
The 'Buy' Button Label refers to the button under each title:
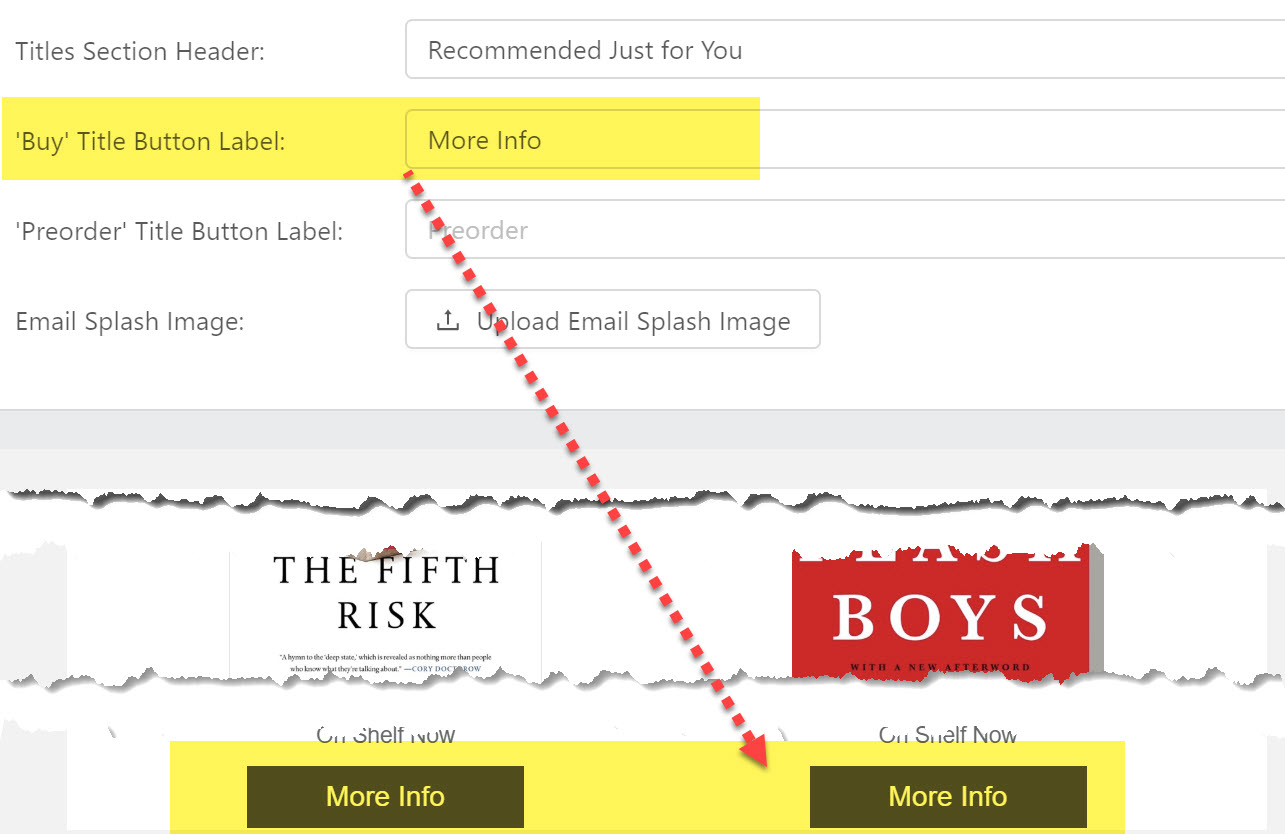
The 'Pre-Order' Button Label adds whatever wording you choose to titles that have not yet been published -- "Preorder" or "Reserve Your Copy" or whatever you prefer!
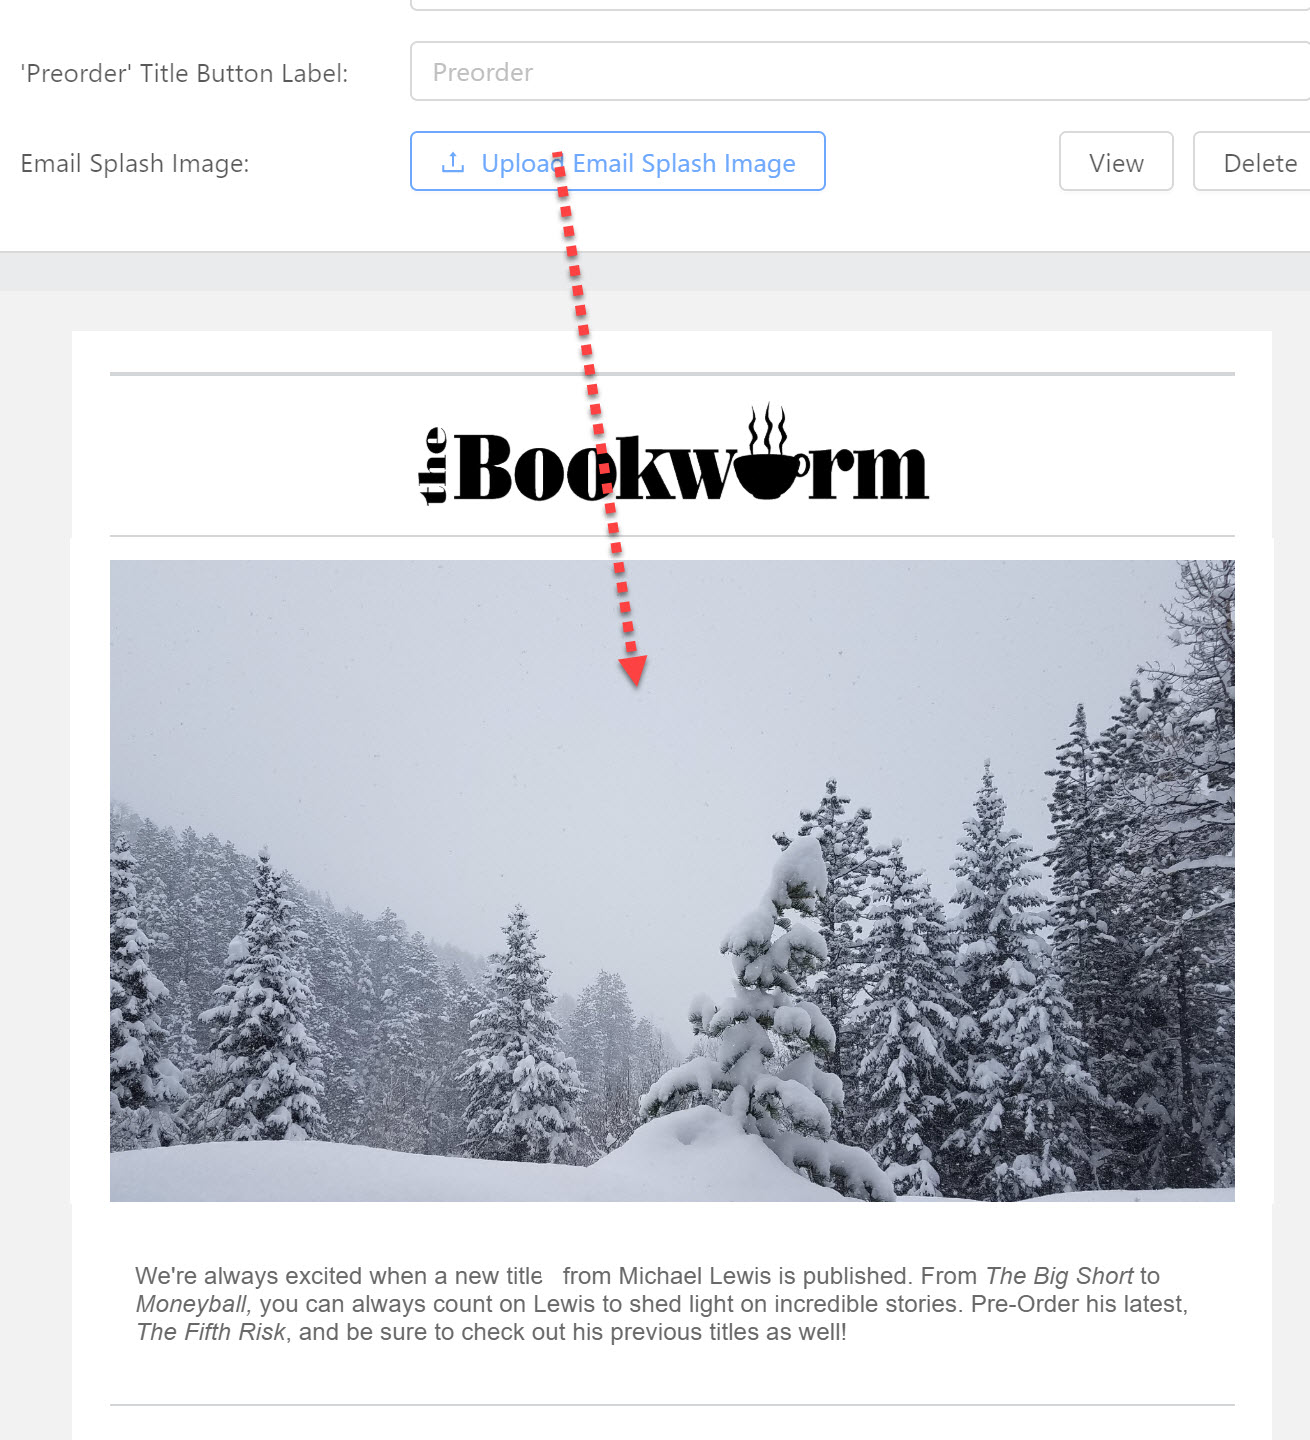
The Email Splash Image can be whatever you think will make this email pop for your customers. A picture of these titles on your shelf, a hauntingly beautiful snowy night image of your store, or just you alone eating a family-size shrimp cocktail... the choice is yours.
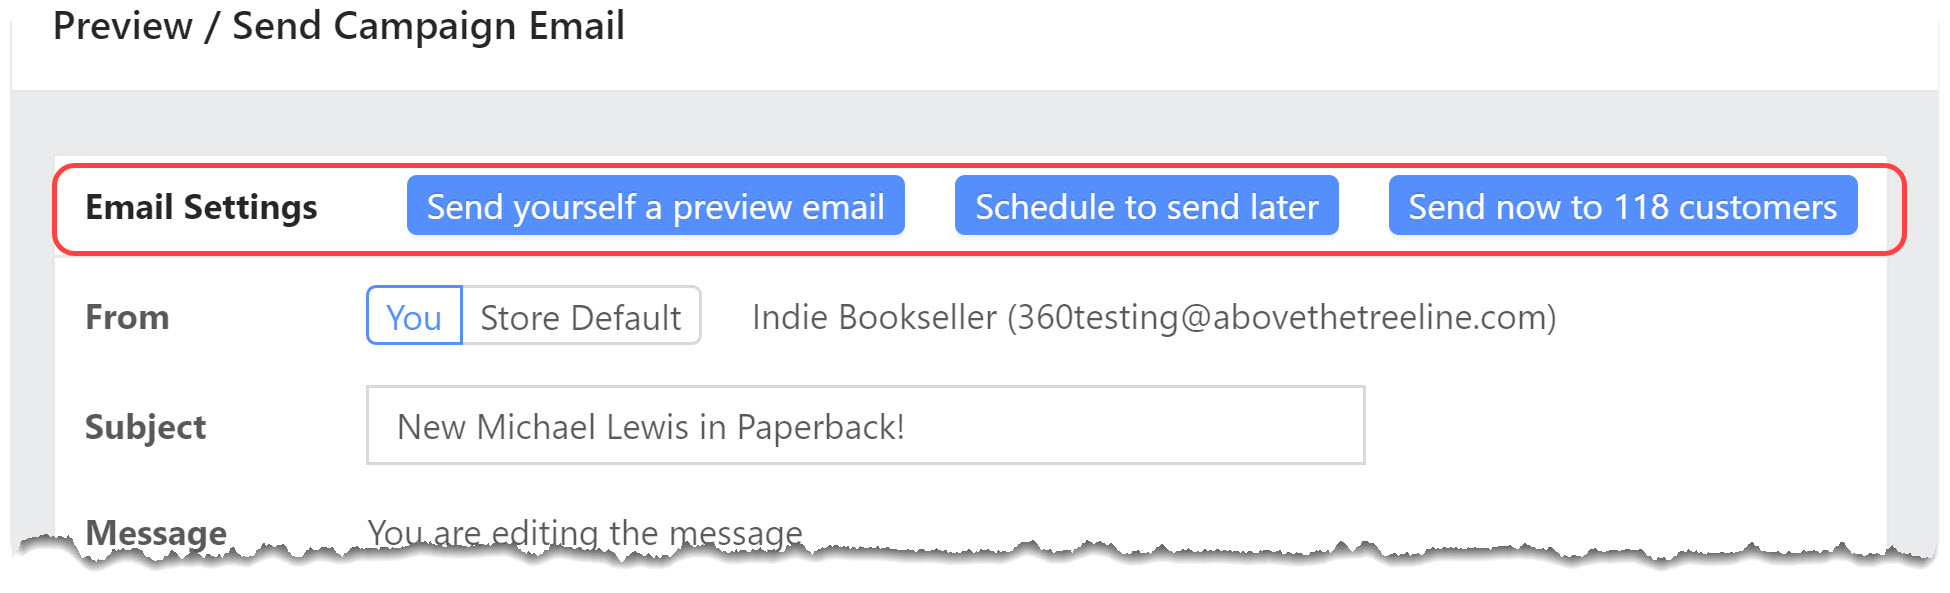
Sending a Campaign:
Once you're happy, you can send yourself a preview email, schedule to send it later, or send it right out to your customers:
Clicking Schedule to send later allows you to pick a date and time for your campaign to go out:
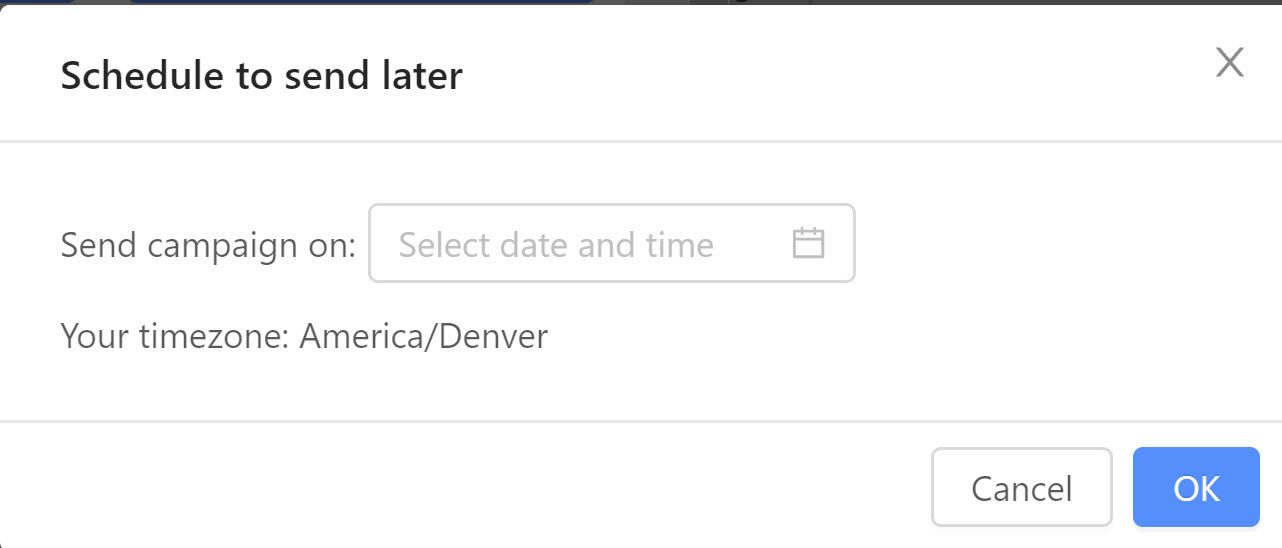
Your timezone is set according to your browser settings.
Deleting, Renaming, Sharing, and More:
If you need to delete or rename your campaign, just hover over the gear icon:

You can also View, Copy, or Share your completed/sent campaigns by clicking here:

Copying a campaign will allow you to reuse the titles, collections, events, blurbs, etc. You'll just need to select recipients. Clicking Share will generate a link to post on social media or elsewhere!