
The first time you open Edelweiss360, the Edelweiss360 Setup Wizard will guide you through a series of initial setup steps.
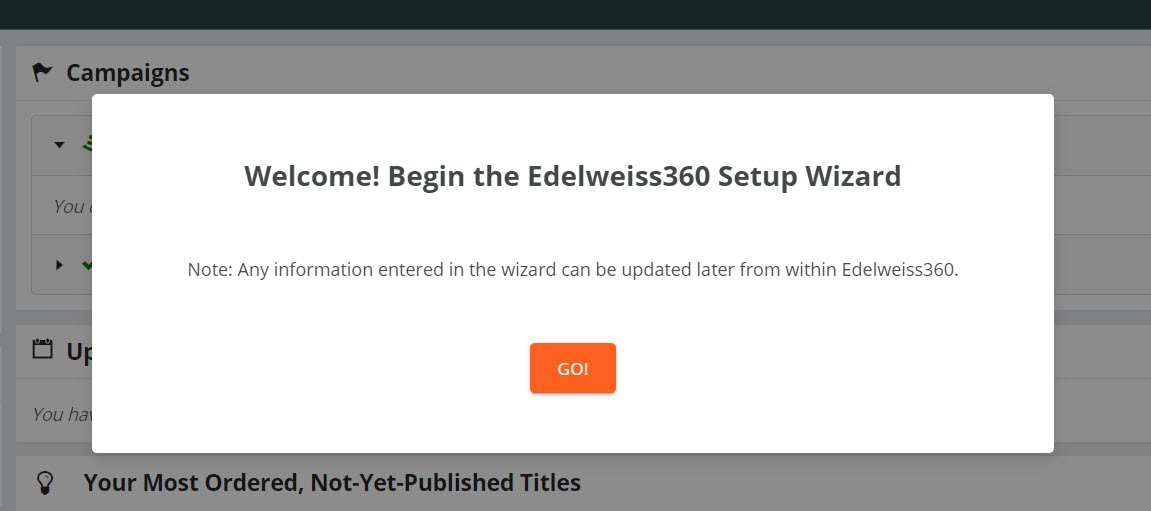
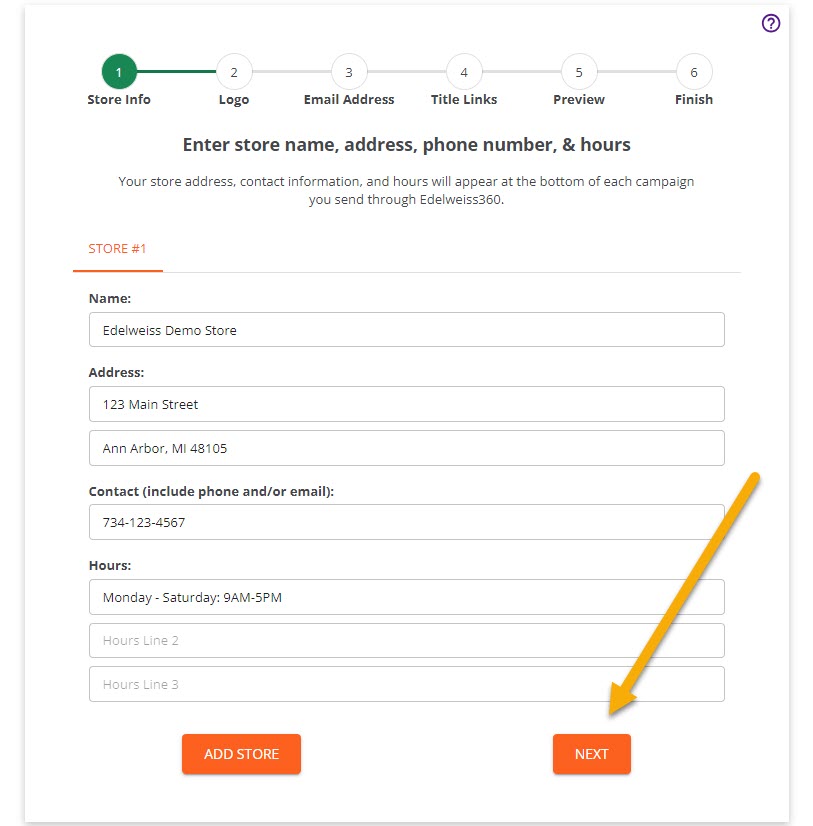
After clicking Go!, you’ll be prompted to enter your store name, address, contact information, and hours. To add another store location, select Add Store, or click Next to proceed.
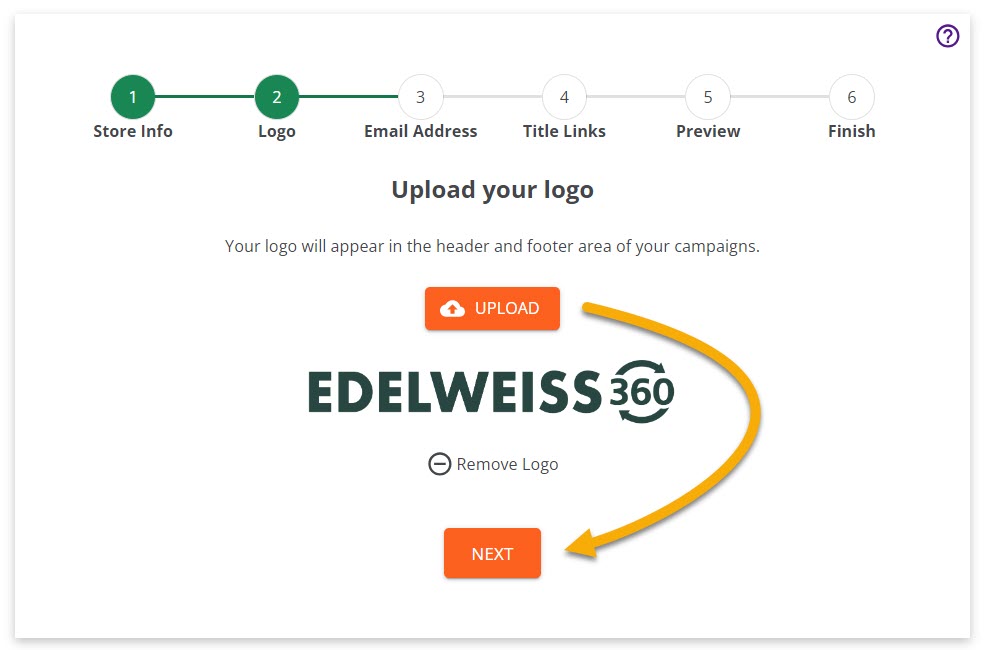
Step 2 is where you will upload a store logo. If you change your mind about the logo you’ve selected, click Remove Logo below the image preview and re-upload. Your logo can also be updated later from the Edelweiss360 homepage.
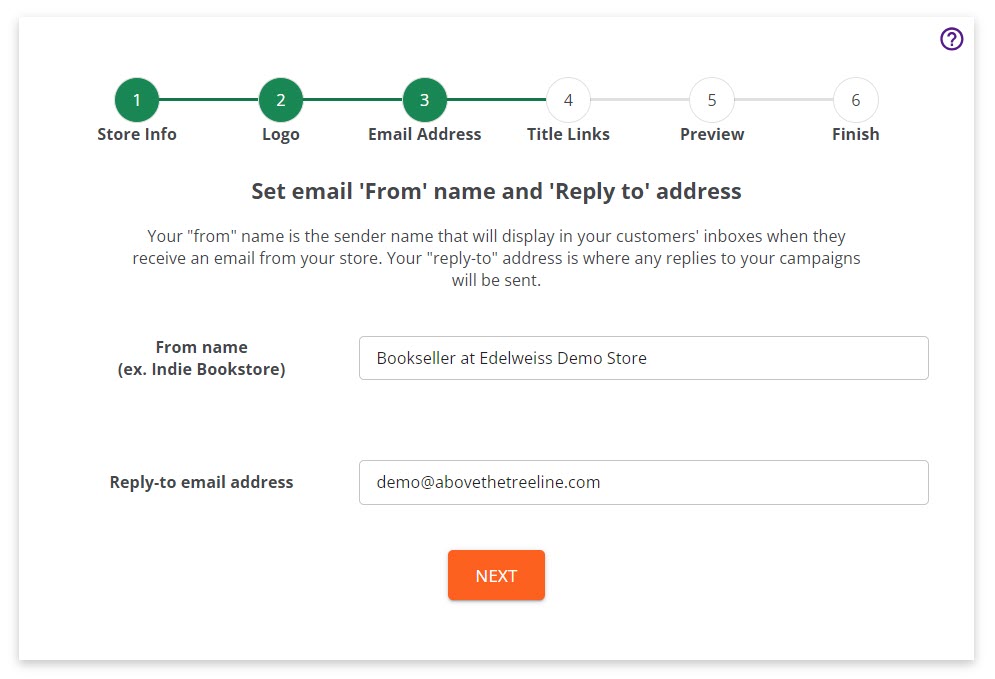
Next, in Step 3, enter a ‘From’ name. When a customer receives an email from you, this is who the email will appear to be “from.” Tip: From names that include an individual’s name rather than just the store name tend to have better open rates (for example, Shaina at Edelweiss Demo Store vs. Edelweiss Demo Store).
Below this, enter a reply-to address where you’d like to receive any customer replies to your campaigns. As with all of the settings added in the Setup Wizard, this can be changed later or overridden on individual campaigns.
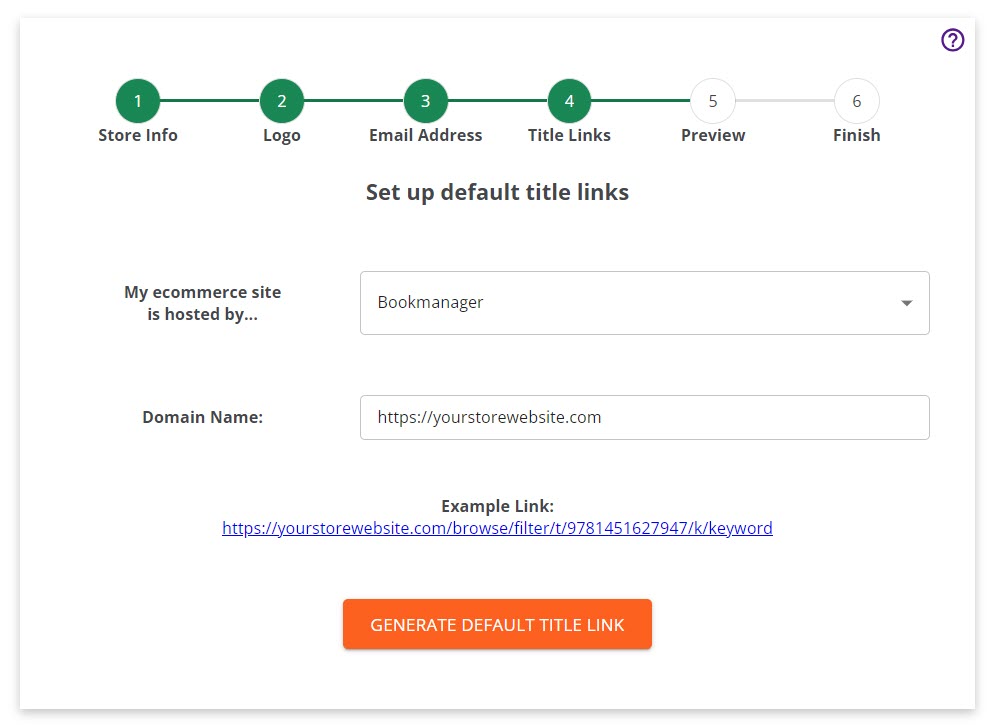
The next step enables you to set your default title links. If your store uses a common e-commerce site host, simply select it from the dropdown. If you use a less common host or would like more information, refer to the instructions here! In the Domain Name field, enter your store’s site URL. The setup wizard will automatically format your title links so that anytime a customer clicks a Buy or Preorder button in your 360 campaigns, they’ll be taken straight to your website to complete their purchase.
Once this step is complete, you’ll see a basic campaign preview, including your logo, a couple of sample titles, and your store information in the footer.
On the final page, agree to the Terms of Service and click Finish. At this point, the wizard will close and you’ll land on the Edelweiss360 homepage, where you can begin exploring the platform and sending campaigns!
Find the Edelweiss360 Training page here.